LinkedIn is an amazing place to make connections with other professionals and advance your career, but it can sometimes feel a little overwhelming to get started.
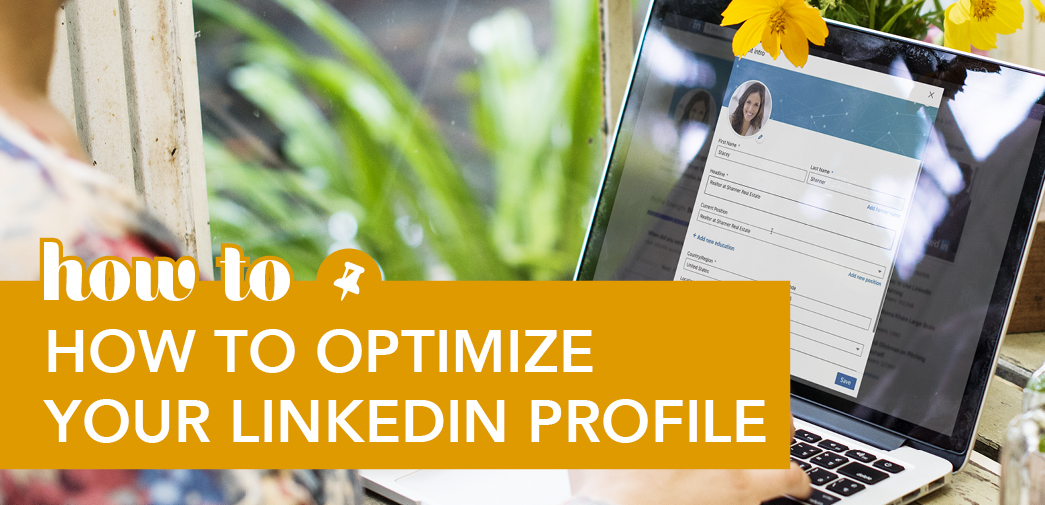
Today on Put a Pin in It, Jessi Carlin shows you how to set up your LinkedIn profile for success.
Video Transcription
It you’re new to LinkedIn, it can be a lot to take in. What information are others looking for? Should you pay for LinkedIn Premium to get the most out of your account?
Not to worry: today I’m going to help you optimize your profile so it makes a great impression on anyone who sees it. Best of all, it won’t cost you a dime.
First, if you haven’t already signed up for LinkedIn, check out the link in the description of this video to learn how to create your LinkedIn profile. Once you’ve created your profile, you can work on editing the details that people will really be interested in.
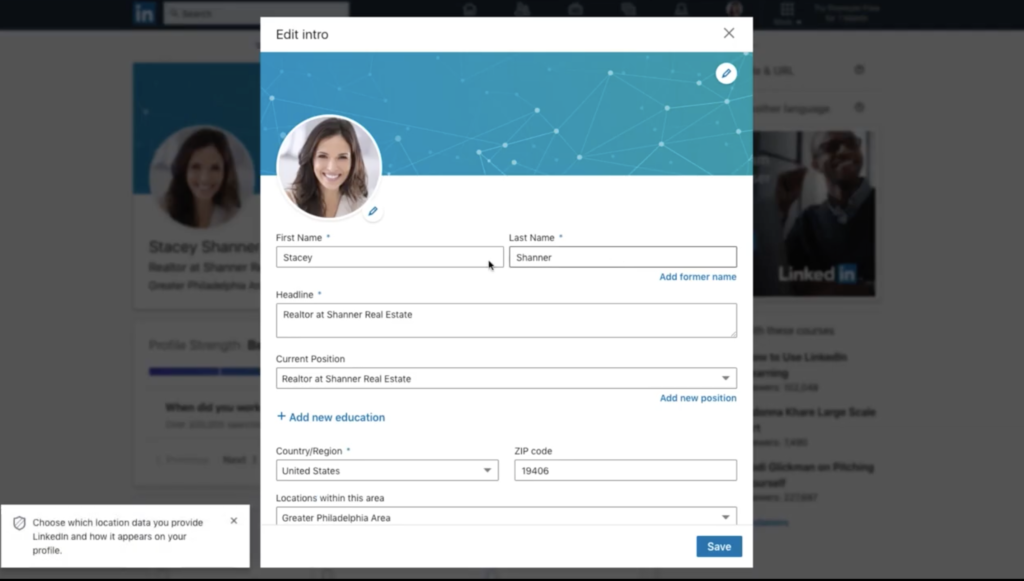
On your profile page, you can click anywhere to see a pencil to edit information you’ve already added. For example, you can click to edit the top part of your profile, which shows your current job and location. If you’re currently looking for a job, you can even edit your headline. For example, if you’re a freelance graphic designer you can write: “Experienced graphic designer looking for freelance work.”
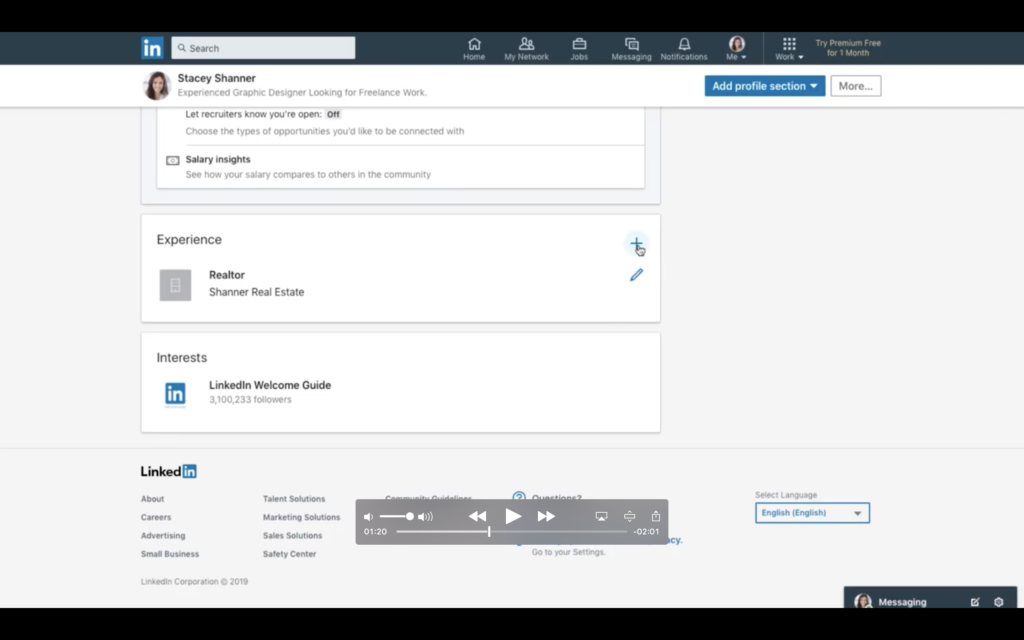
Now that you’ve got the top section of your profile in order, you can work on updating everything else. First, scroll down until you see the Experience section. Click the pencil here to edit details about your current job, including how long you’ve been there and what your job duties are. When you’re done, click Save. To add information for previous jobs, start by clicking the plus (+) button. From there, follow the instructions on your screen to update information for each job.
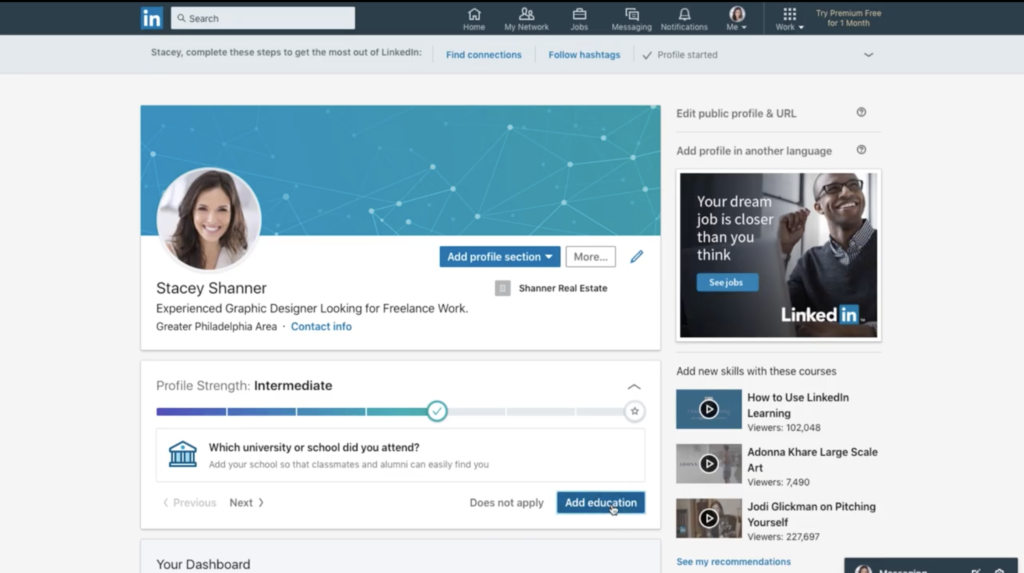
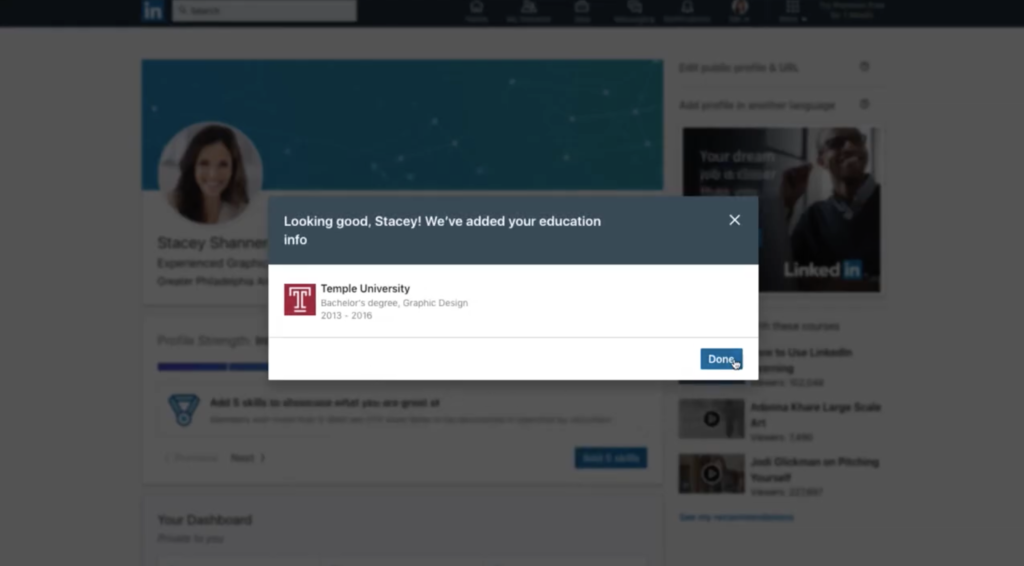
Depending on where you’ve worked, LinkedIn will auto-suggest the name of the company, and you can click to select the right one. Once you’re done filling in all the details, just click Save. Then, select Add Education. Follow the instructions on your screen to add your highest level of education, and then click Save. Once you do this, an education section will appear on your profile. To add additional education history, just click the plus button.
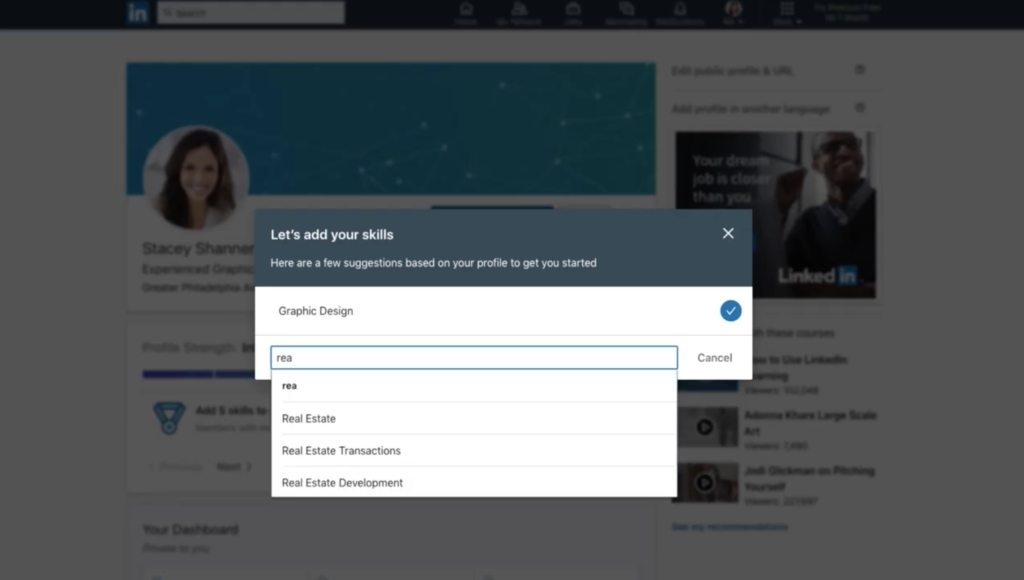
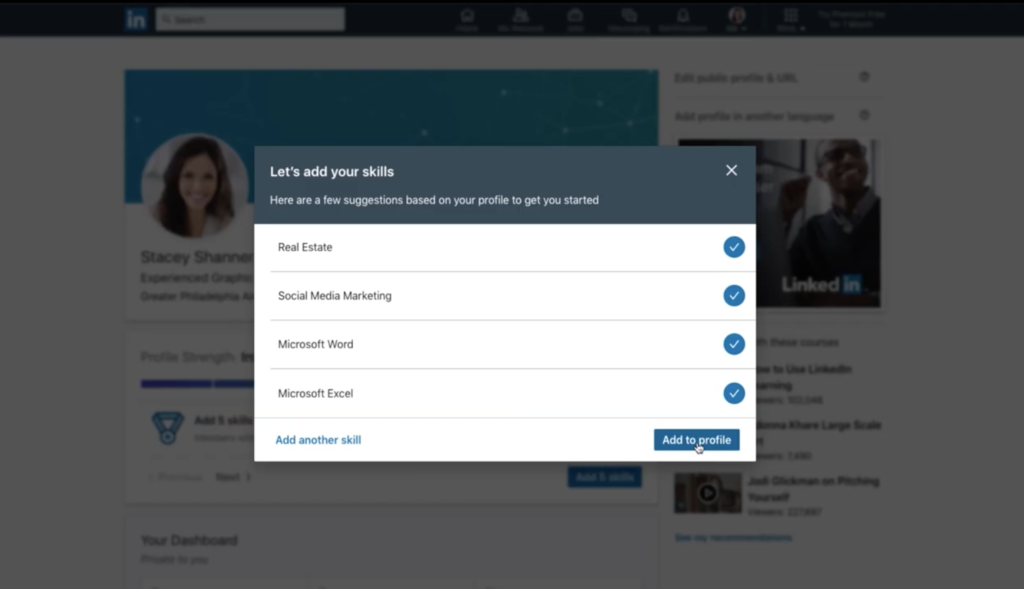
The last thing you’ll want to do is add your Skills. When you’re looking for jobs on LinkedIn, this section is really going to be important, so you’ll want to focus on the things you have a reputation for doing well. I’ll explain why that’s so important after we start adding skills.
First, click the Add Profile Section menu again, then click Skills. From there, hit the plus button. This will bring up a search box. In the search box, start typing the things that you do well. LinkedIn will suggest skills based on what you type. Click to select the skills that apply to you, and keep typing more until you’re done. You can add up to 50 skills in total. When you’re finished updating your skills, click the blue Add button.
That’s because once you’ve made connections with people you know or have worked with, they’ll be able to endorse you. In other words, they can vouch for each one of those skills individually. When you have a lot of people endorsing you for the same skill, employers will know you’re really good at doing that particular thing.
The takeaway
And that’s it! Now your LinkedIn profile is set up, and you can start using it to make and strengthen connections. Subscribe to this YouTube channel, and be sure to follow us on LinkedIn. But, most importantly, put a pin in it.


