


Are you looking to grow your brand on Facebook? While you can make connections through your personal account, the only way to truly make waves on Facebook is through a dedicated business page.
Today on Put a Pin in It, Andrea Tremper gives step by step instructions for creating a professional business page that will help you generate new leads, build stronger relationships, and close more deals.
Video Transcription
If you’ve been promoting your business through your personal Facebook page, you’ve been severely limiting your potential. For one, Facebook only allows you to have a maximum of 5,000 friends, while an unlimited number of people can like or follow your page.
Beyond that, a Facebook business page can offer you a number of features that aren’t available to personal accounts. For example, you can run ads and have an analytics page that gives you a detailed look at your brand’s performance on Facebook. Today, I’m going to show you exactly how easy it is to get started.
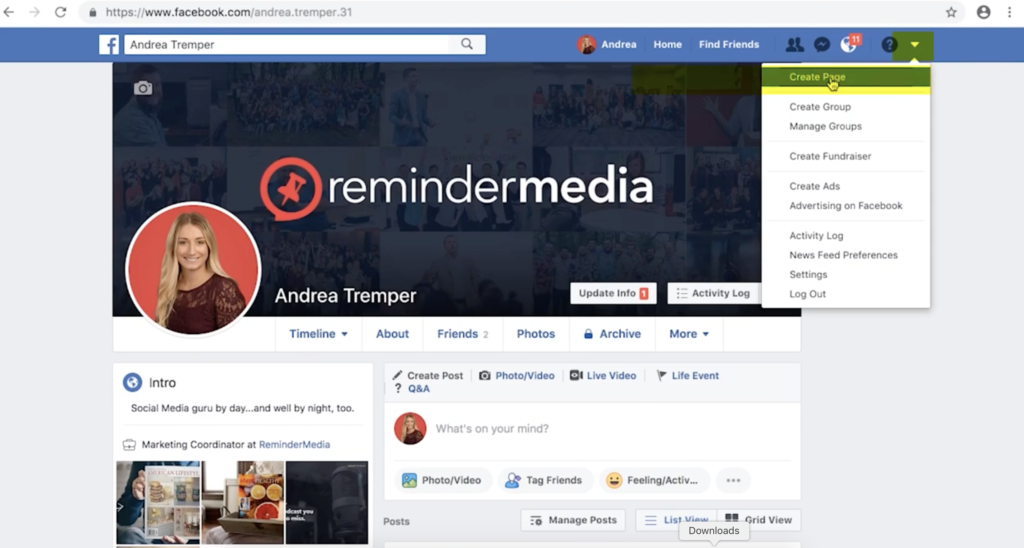
The first thing you’re going to do to get your business page set up is to log into your personal Facebook. This can be from the home page, from your profile, or anywhere else. That main menu bar at the top will stay the same. I’m just going to start from my profile, so we can make it easy.
You’re going to click the drop-down menu—it’s a little arrow on the right-hand side—and click Create Page.
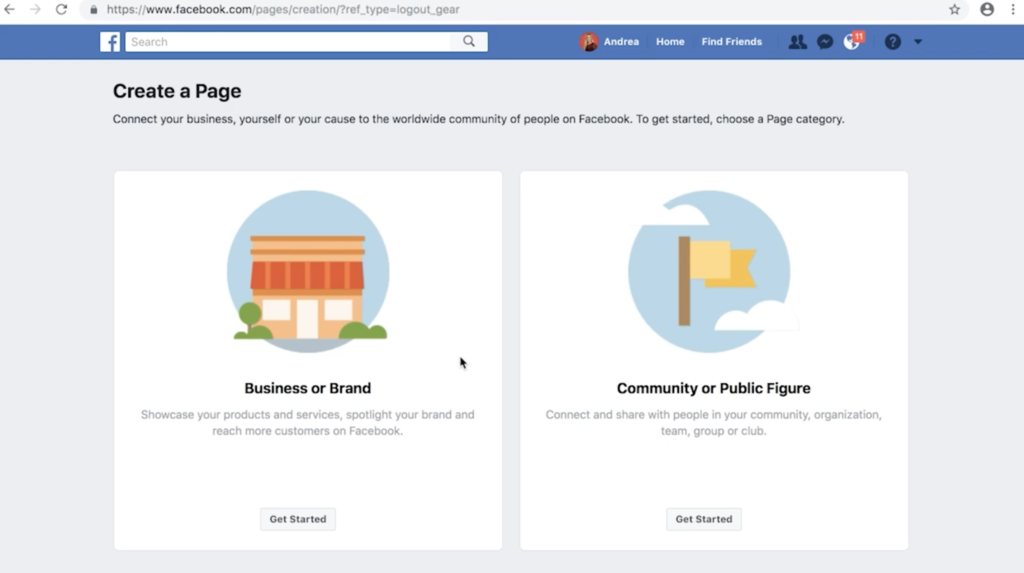
This is going to bring up a different set of options, either “Business or Brand” or “Community or Public Figure.” I’m going to go with Business or Brand, because I’m going to use this as if I’m a real estate agent.
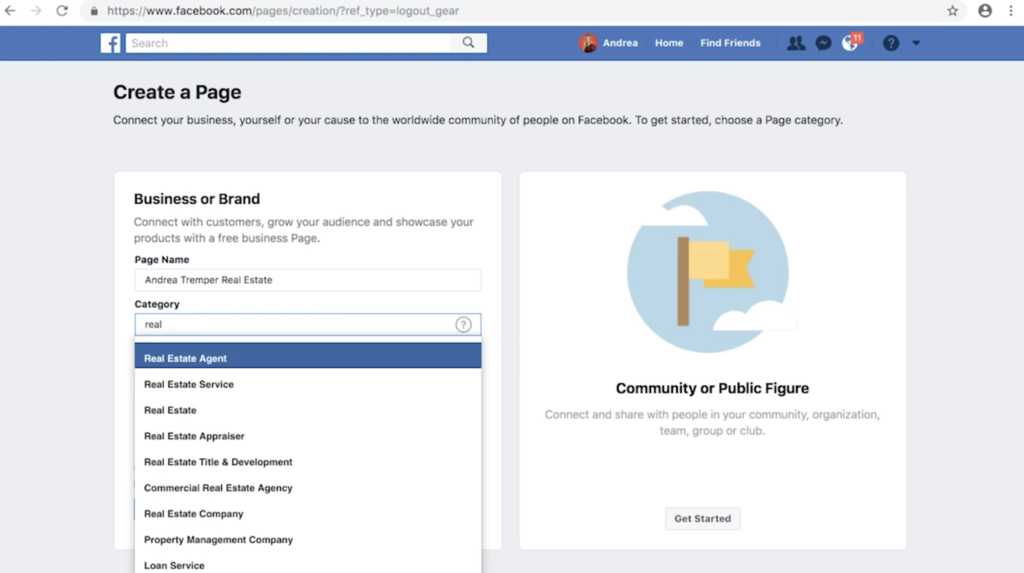
You can hit Get Started, and then you’re going to put in your page name. I’m going to go with Andrea Tremper Real Estate. You want to make sure that you spell everything correctly. And then, for category, you can just start typing, and it’ll come up with suggestions for you. I’m going to do “real estate agent.”
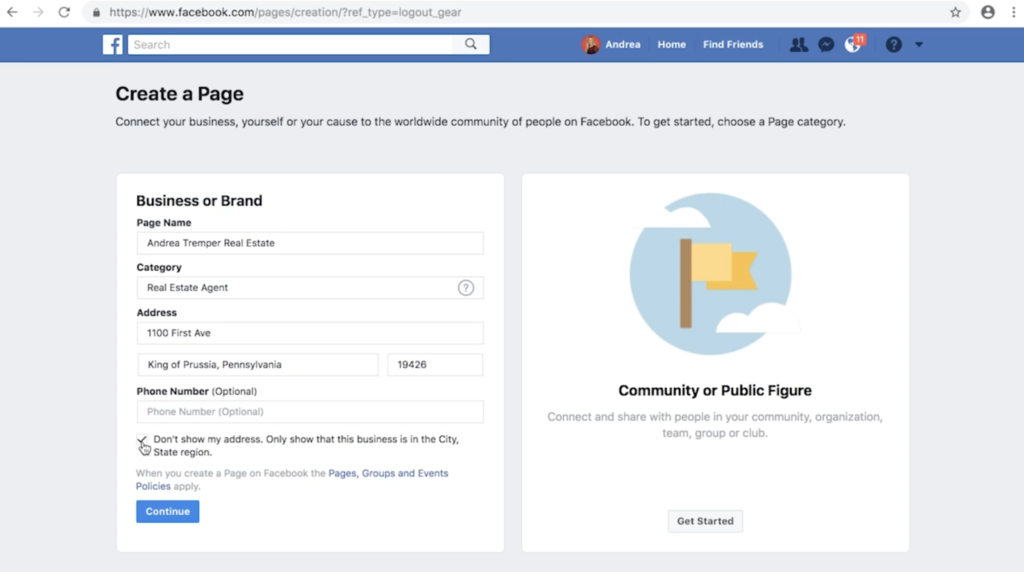
You do have to include your address. But if you don’t want people to be able to see your physical address, you can just include the city. I’m going to put our business address here. I’m not going to include a phone number for this, but that is optional for you, if you want people to get a hold of you.
This is the option that says you don’t have to show your address. I’m going to check that I don’t want it shown, and to just show my city. Then you’ll click Continue after all of that is filled in.
Now you’re going to add a profile picture. Since this is a business page, it does depend on what you’re using it for. I’m going for a more professional look, so I am using a professional headshot. But you can use whatever you want. Then it’s going to ask you to upload a cover photo. Again, you can do whatever you want here. You can show listings here or “just sold” properties. Whatever you want is a good option for this. But it is nice to have something for people to look at when they hit your page. You can drag to reposition it. I’m just going to put that pin right in the middle and hit Save.
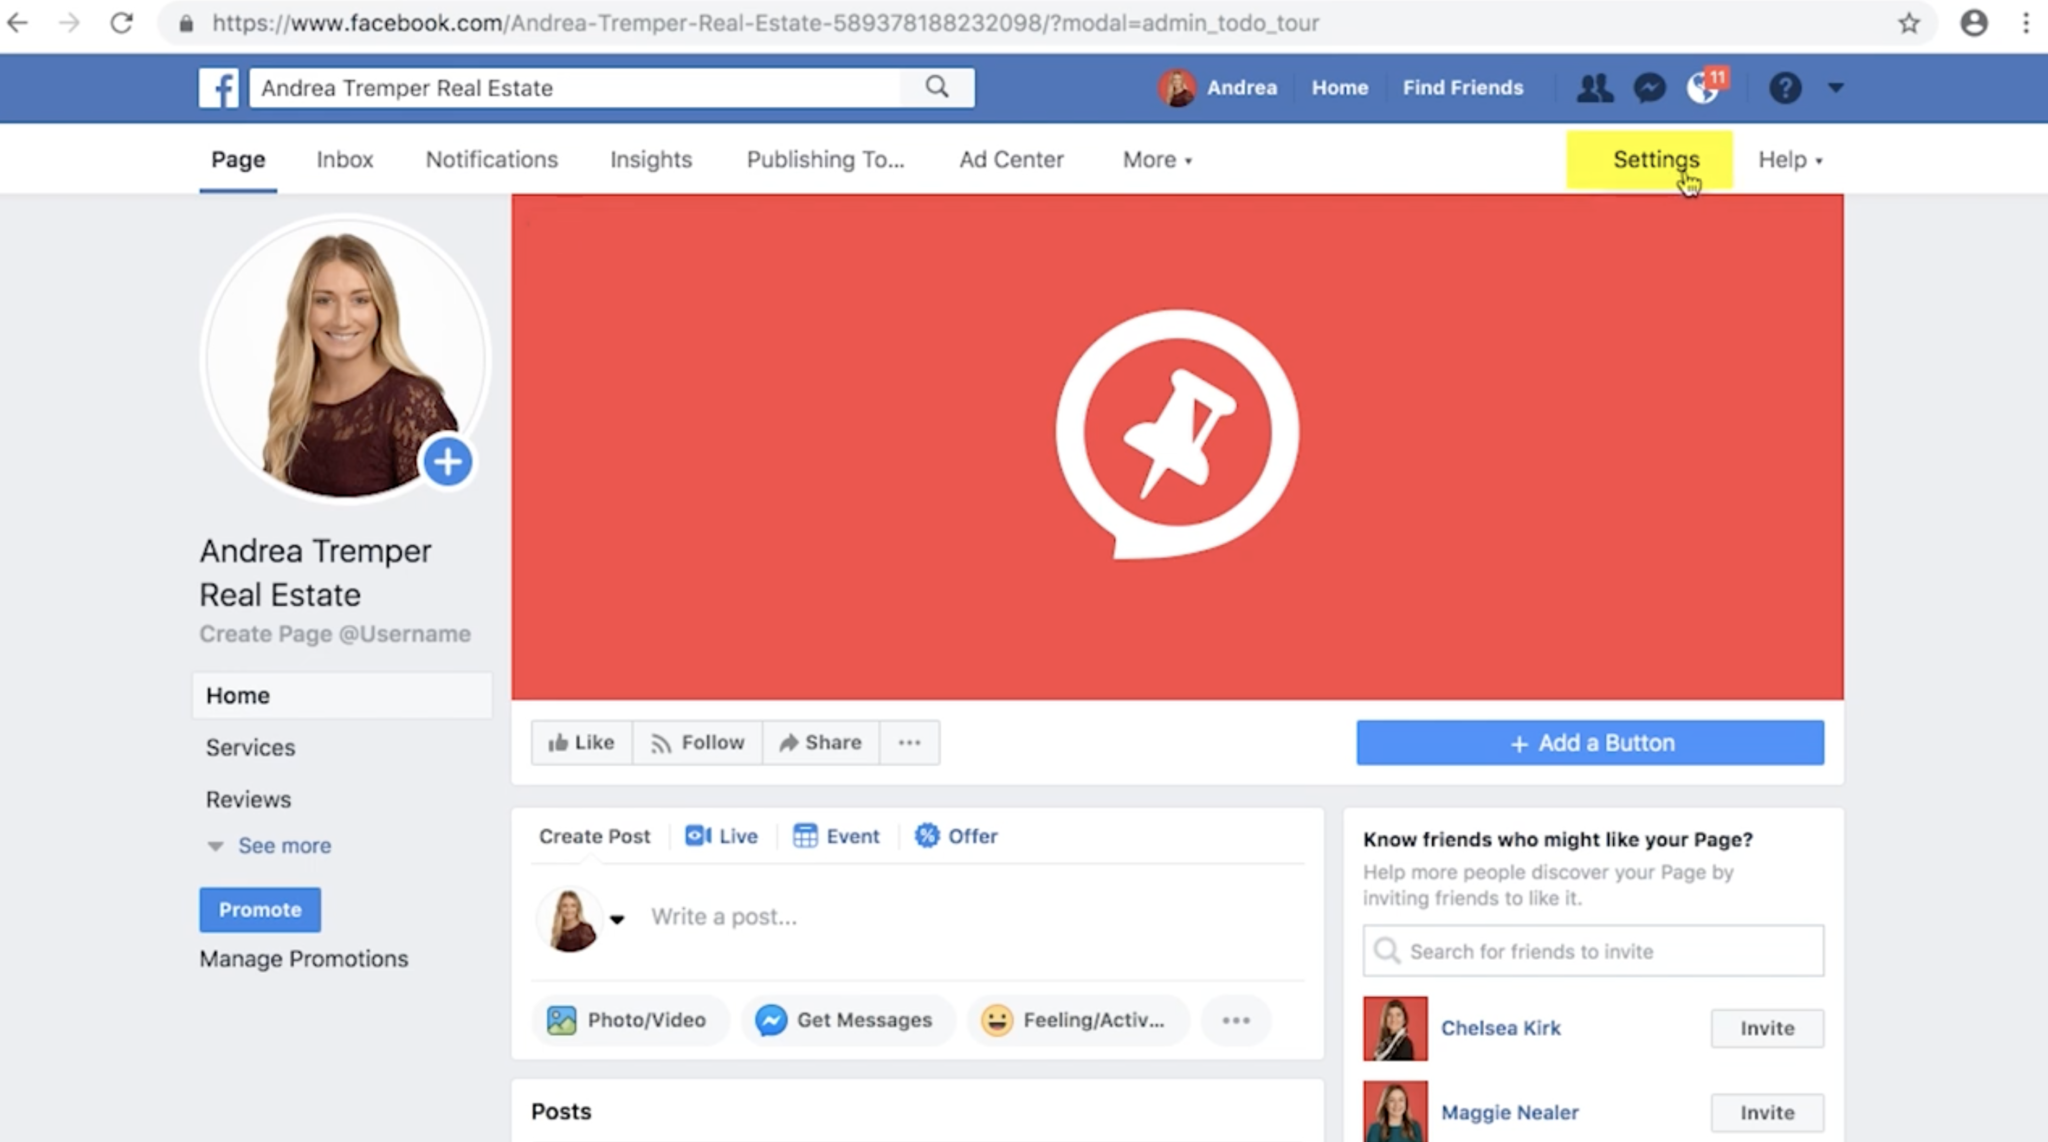
From here, this is your business page. It’s all set up, but there are different things that you need to customize. It’s going to say to add a short description. You can do that right here. This is a good place to let your audience know who you are and what your mission is. If you have a vision statement, you can put it here. I’m just going to keep it very brief and generic for the video. Then you’re going to hit Save.
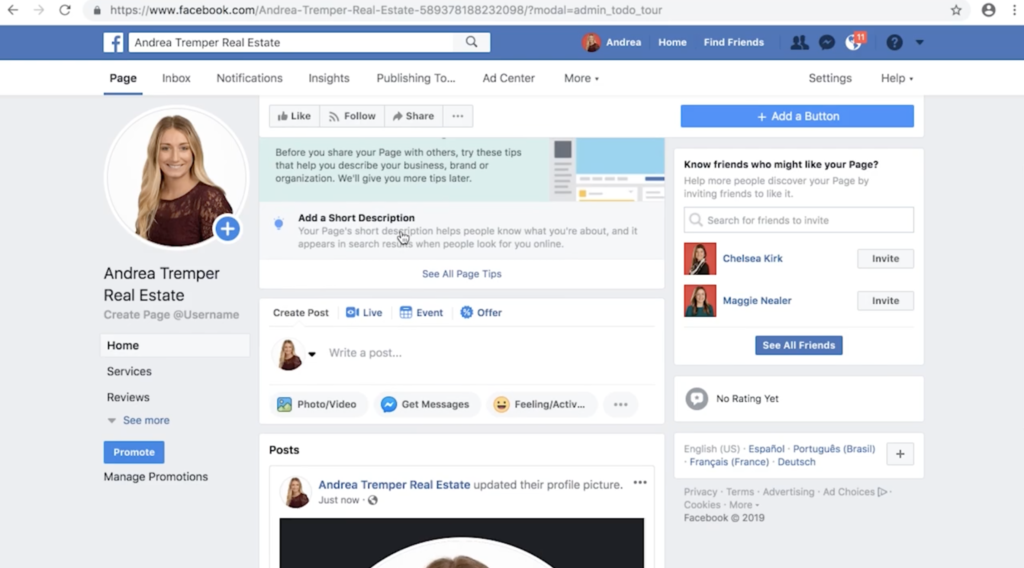
Under your profile picture, there is a link that says Create Page Username. This is important because it makes it a lot easier for your audience to find you. You can put it after the backslash on the back end of your URL. It depends on if it’s available or not. Let’s see if “andrearealestate” is.
Since that one is not available, I’m just going to keep trying until I find one that works for me. Alright, “andreatremperrealestate” is available, which is perfect. I’m going to hit Create Username.
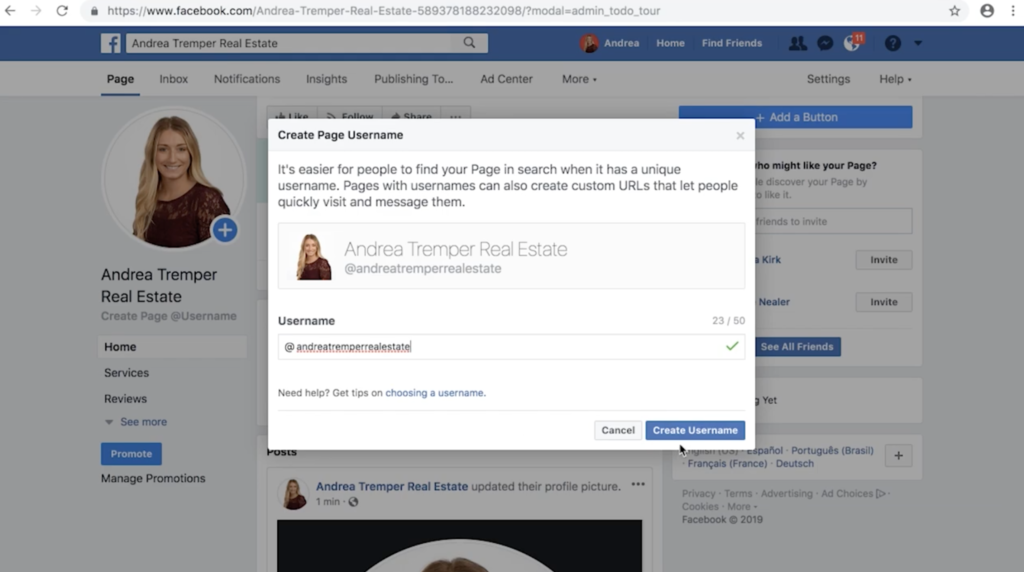
This is perfect, because now you can just put this on your business card. It’s super easy. You can say facebook.com/andreatremperrealestate. Then you don’t have to put all of the user ID numbers and things like that. It makes it a lot cleaner.
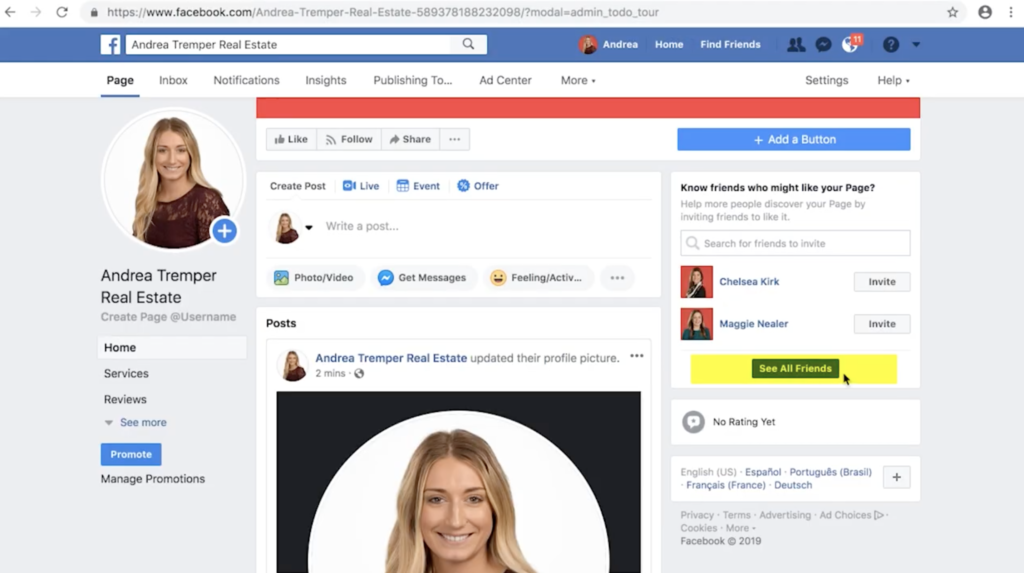
Now it’s time to invite your friends to your Facebook business page. It will have a few people listed right there. But if you hit See All Friends, it’ll bring up a list of all your friends available for you to invite. You can invite them one by one, or you can search for them by name and invite them to like your page.
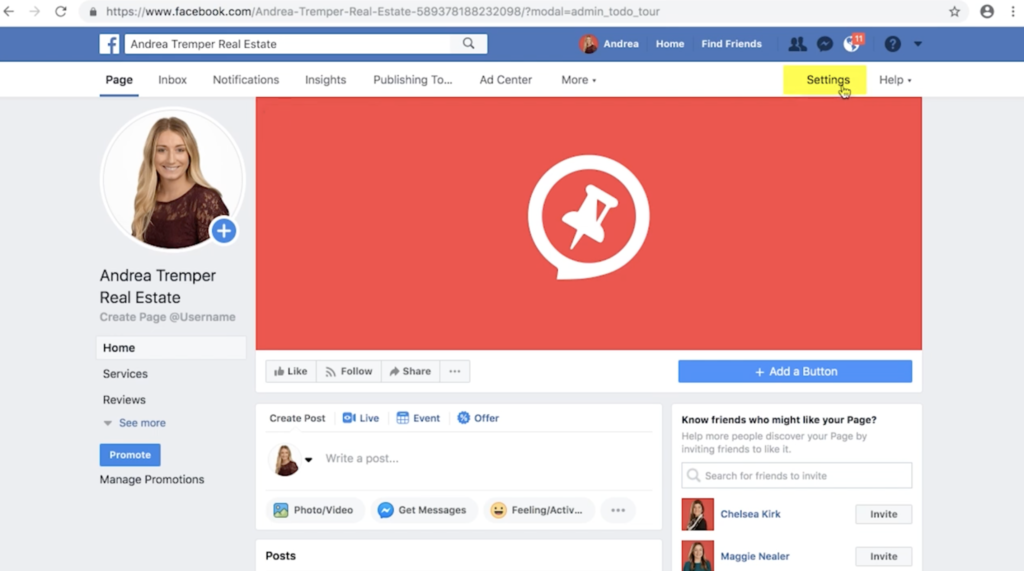
Now that you’ve put a little bit of information on your page, your Facebook probably still looks a little bit empty. One way to remedy that is to go up here to the right corner and click Settings. Then, on the left-hand side, click Page Info. This all of the information that’s on your page. You definitely want to go in here and just browse through. If anything, make sure all of the information that’s already in here is up-to-date and accurate, and also fill out the rest of it.
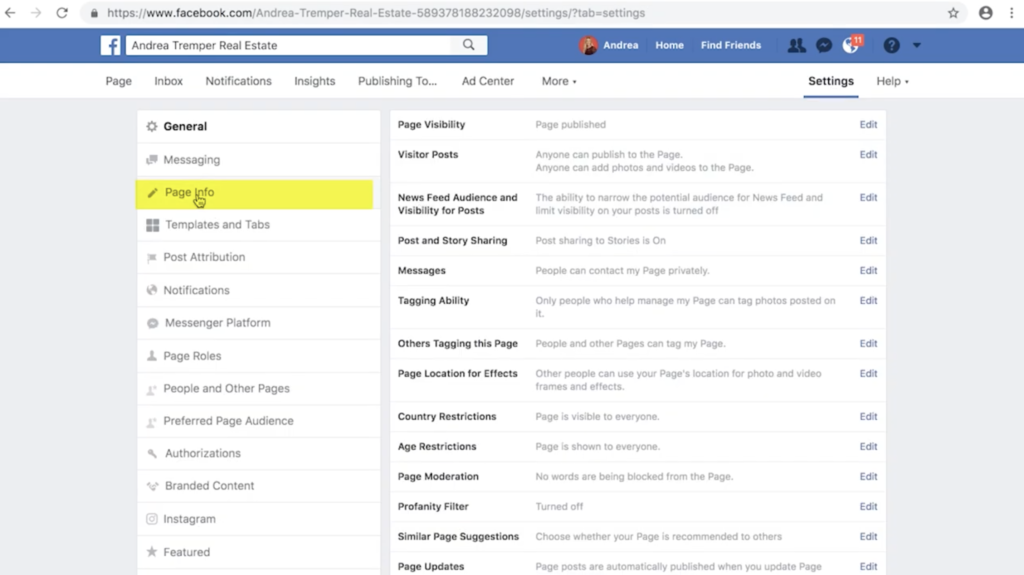
For example, I have my description done and I have my category, but if I’m a real estate agent, I want to put my phone number in there for people to reach me. I also want to put my website again and my email address, just because I want to be available for my clients. You can do all the rest of this, too. All of these are optional, and none of these are required, but I do highly encourage you to fill out as many as you can. If you work at an office, you can put your office hours here. And there’s even more options to put more details about you or your business.
The takeaway
And that’s it! Now you can start regularly updating your Facebook page, and be sure to let clients know where they can find your new Facebook page. If you liked this video, comment below and let us know. Be sure to check out our other videos to learn how to create Facebook ads, how to keep track of your Facebook analytics and performance, and so much more about social media. Subscribe to this YouTube channel. Like us on Facebook and Instagram: @remindermedia. But, most importantly, put a pin in it.