


If you’re a ReminderMedia customer using our Print on Demand postcards, you have so many amazing customization options right at your fingertips.
Today on Put a Pin in It, ReminderMedia web designer Olivia Sisinni gives step-by-step instructions for showcasing multiple listings on a single postcard.
Video Transcription
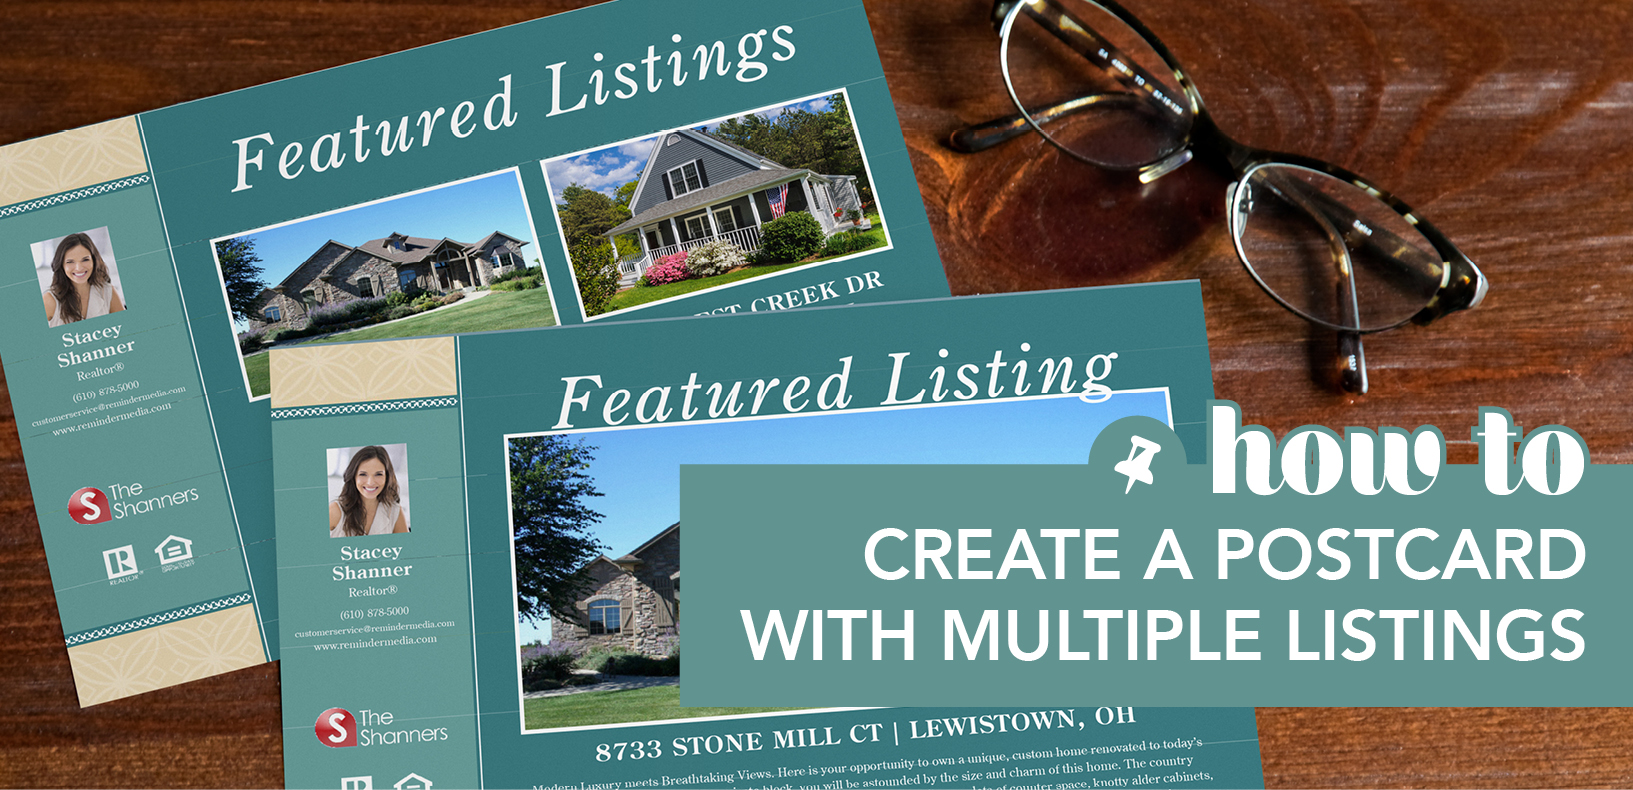
When you’re trying to become the top agent in your geographic farm, it’s all about making an impression. One of the coolest things about ReminderMedia postcards is that they can be easily customized to suit different purposes. And that includes showing off multiple listings.
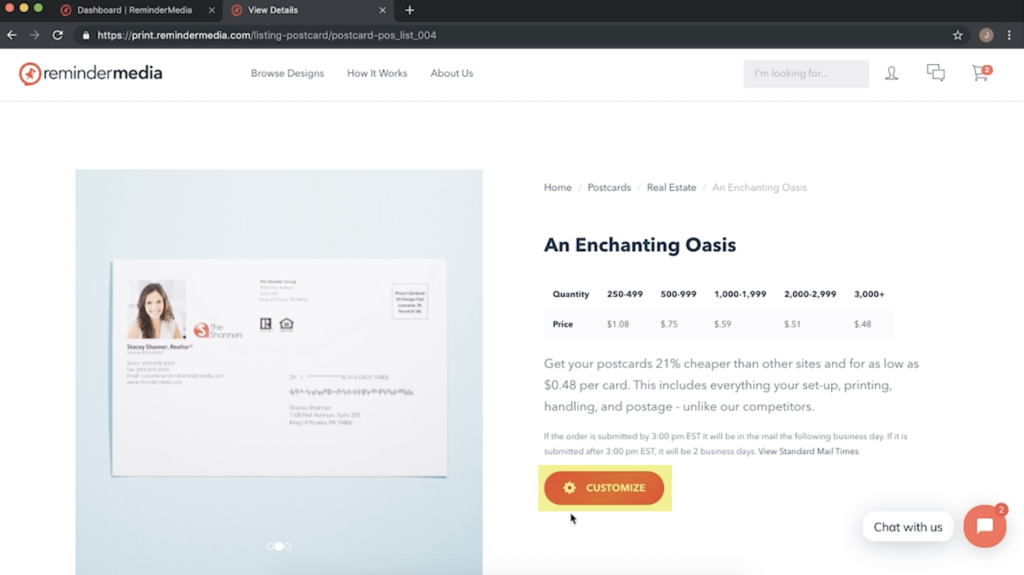
The first thing you’ll want to do is to log in to your ReminderMedia account and select “Postcards.” From there, you’ll select the postcard you want to use as your base design. For this video, I’m selecting “An Enchanting Oasis.” On the next page that comes up, click the Customize button.
First, I’m going to show you how to edit your text. Click on the address box to start editing. Just a quick note: if you’re copying and pasting text from another source, you’ll see that you can’t use keyboard shortcuts in the postcard editor. To paste text into any of these fields, just right-click Copy, and then right-click and choose Paste. Otherwise, just start typing.
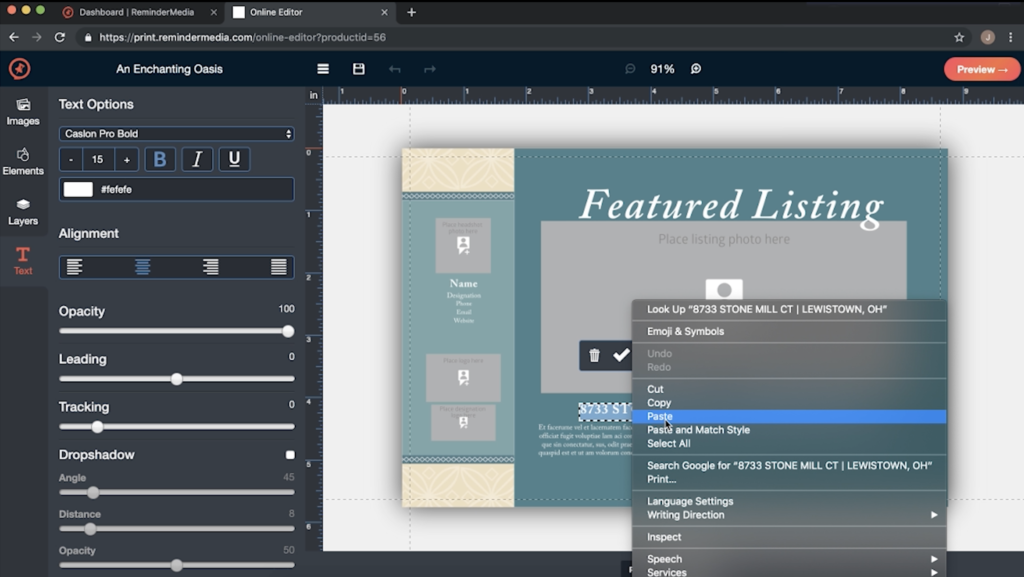
You’ll see you can change the size, color, and font for any of your text using the Text Options box on the left side of the page. You can also change the alignment, or even experiment with some more advanced options like drop-shadows. One of the best tools you have here is the ability to increase or decrease font size by using the + and – under the name of the font. This way, you can see what your text will look like in real time without having to keep typing in new numbers. You can also move your text fields around or resize them, just like this.

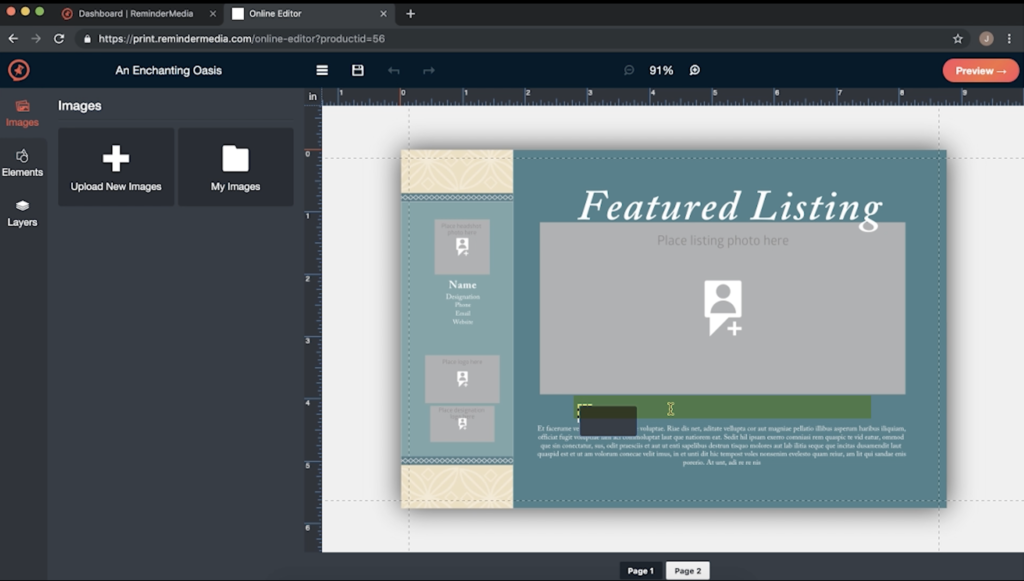
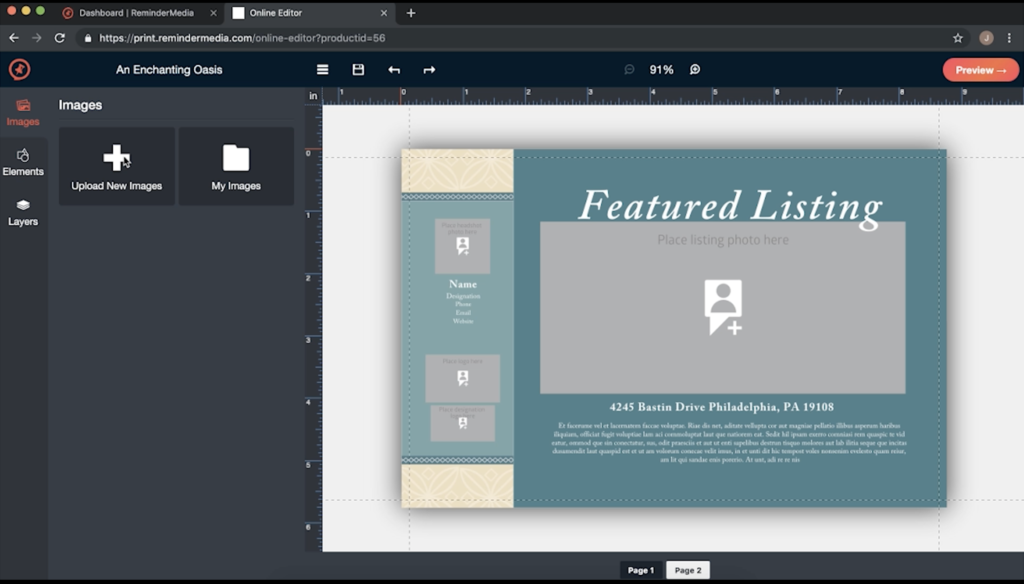
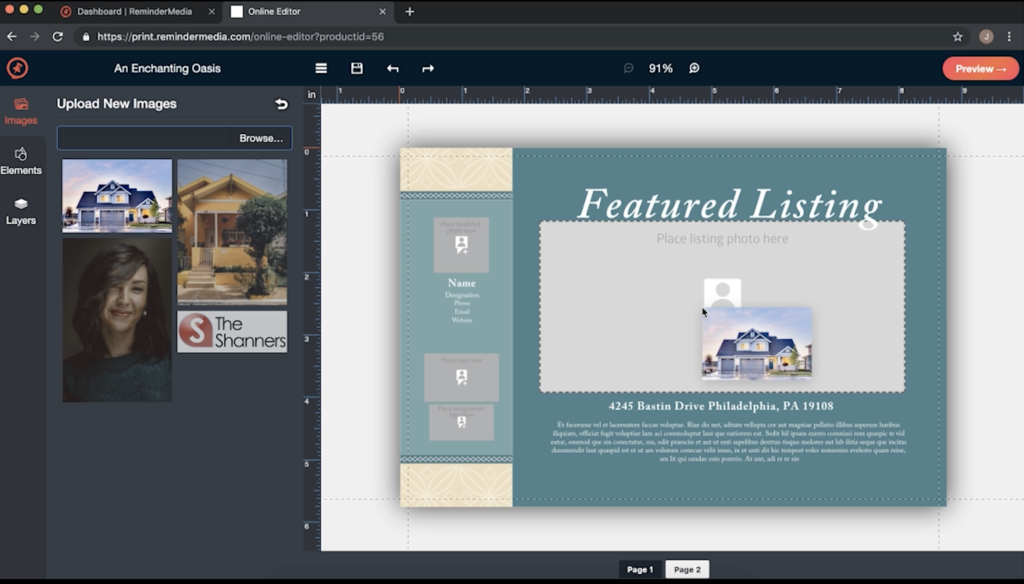
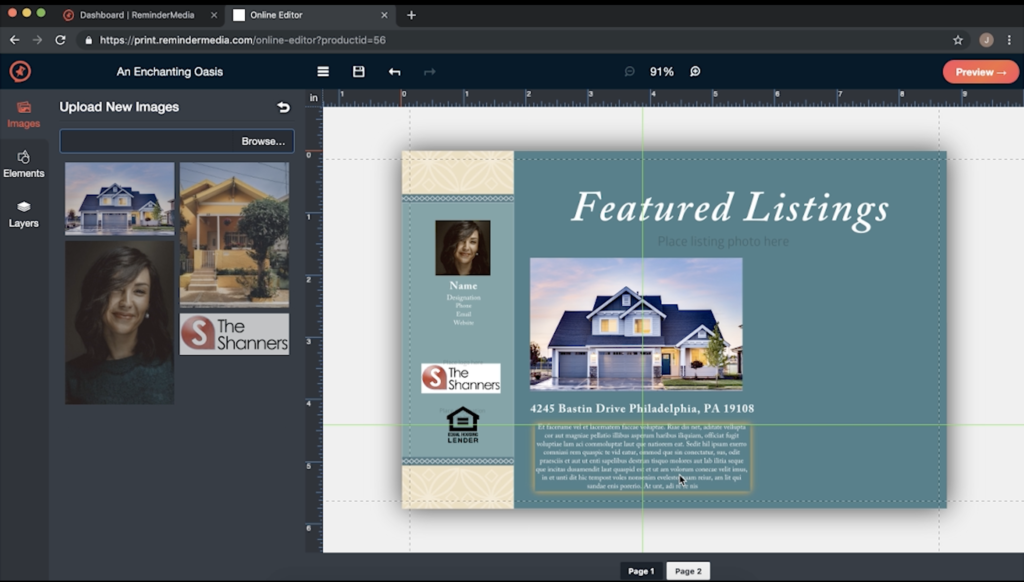
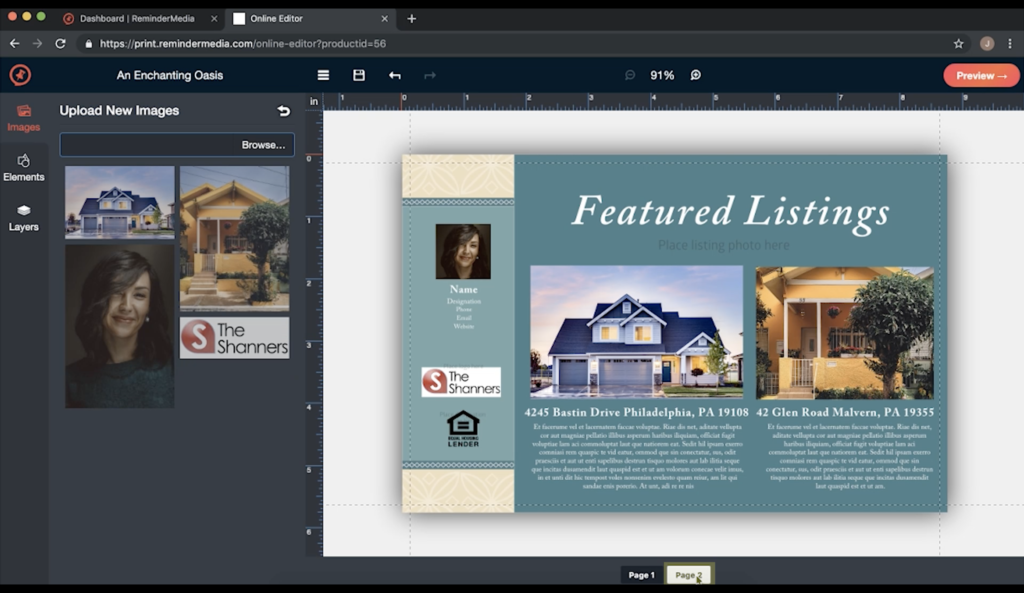
Now that you know how to edit text, you should go ahead and update your postcard with the information from your listing. Once your text is good to go, it’s time to add your images to your postcard. To start, you’ll want to upload all the images you need, like your listing photos, your logo, and your headshot. On the left side of the page, click Upload New Images. Click Browse, and then select any images you’re going to use in your postcard. Then, click Choose to upload.
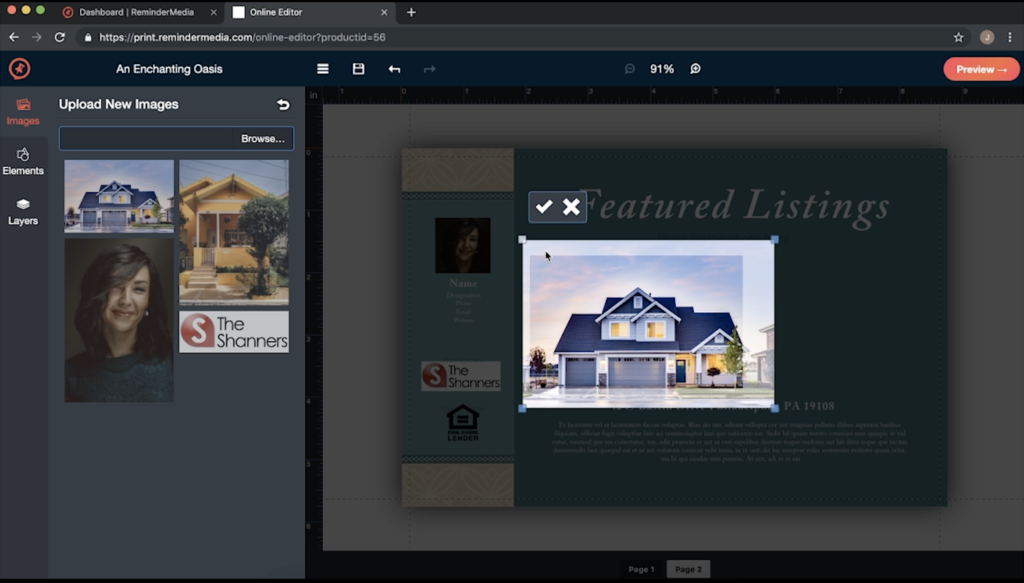
After you’ve finished uploading images, there are two ways to add them to your postcard. The first way is to drag the image to the space on the card where you want it to go. The other way is to select the area you want to fill, and then click the image to the left that you want to go there. There are handy prompts for you to place your images on the card, but don’t worry—they won’t print on the final design. They’re just here for guidance.
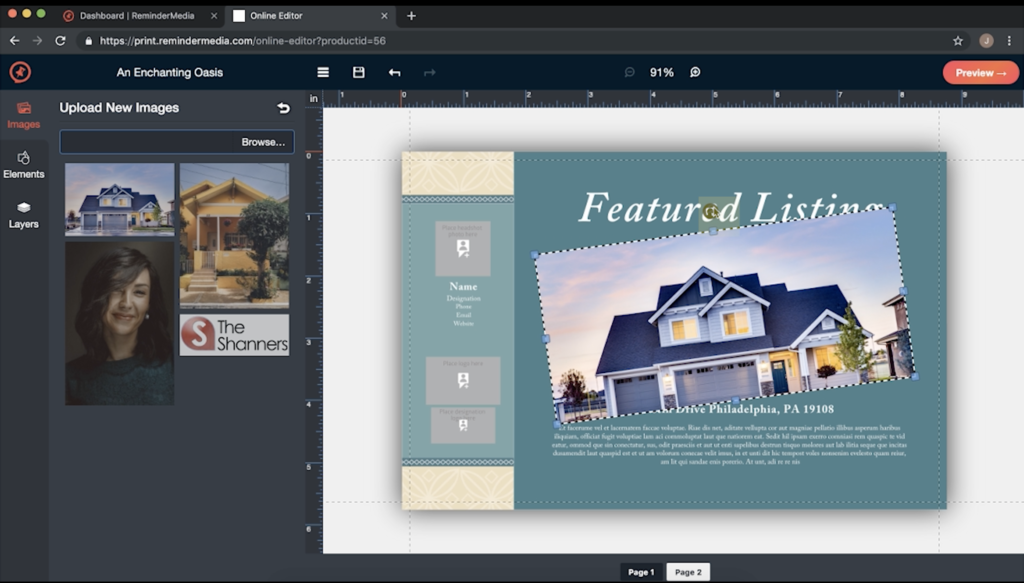
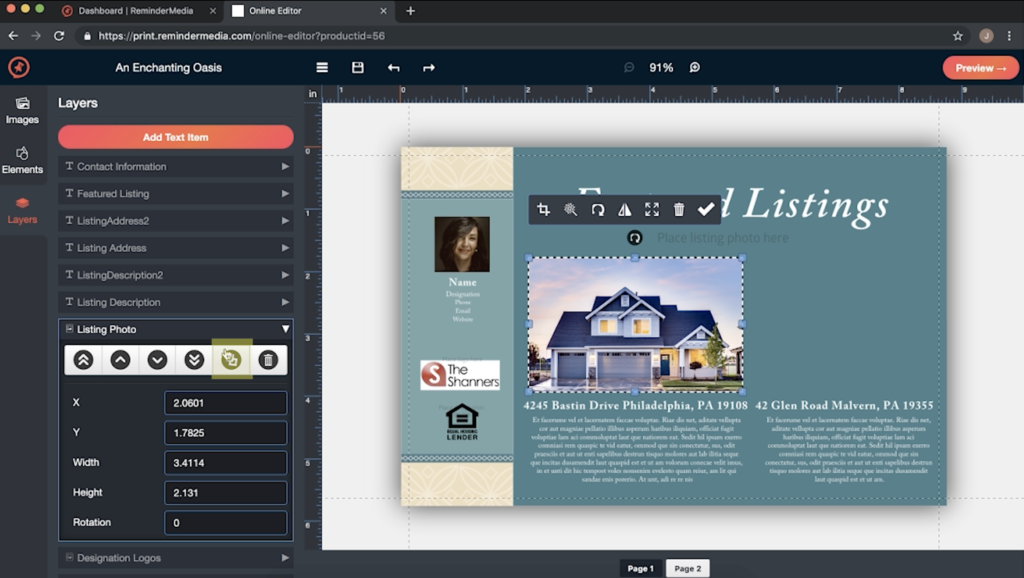
Once an image is placed, you can resize the image, like this. Or, you can click and drag to move the image somewhere else on the card. Clicking on the arrow icon will rotate the image, while the trash icon will delete it.
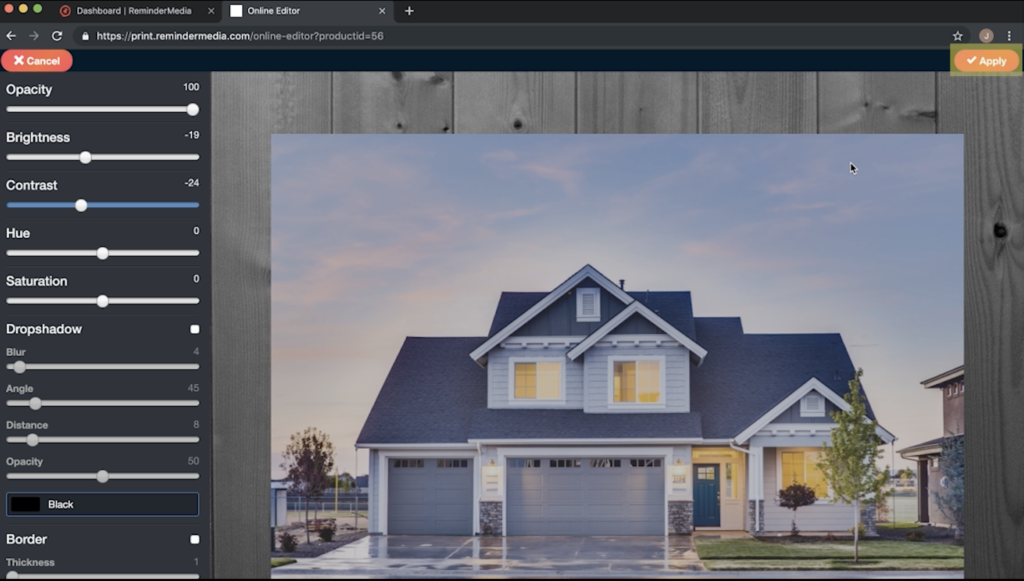
Additionally, you can take advantage of the built-in editing software. When you click the magic wand, you’ll be able to use color correction, as well as other touch-up options. You can experiment with the sliders here to improve the appearance of your photos. Click Apply to accept any of these changes that you’ve made, or Cancel to go to the previous screen.
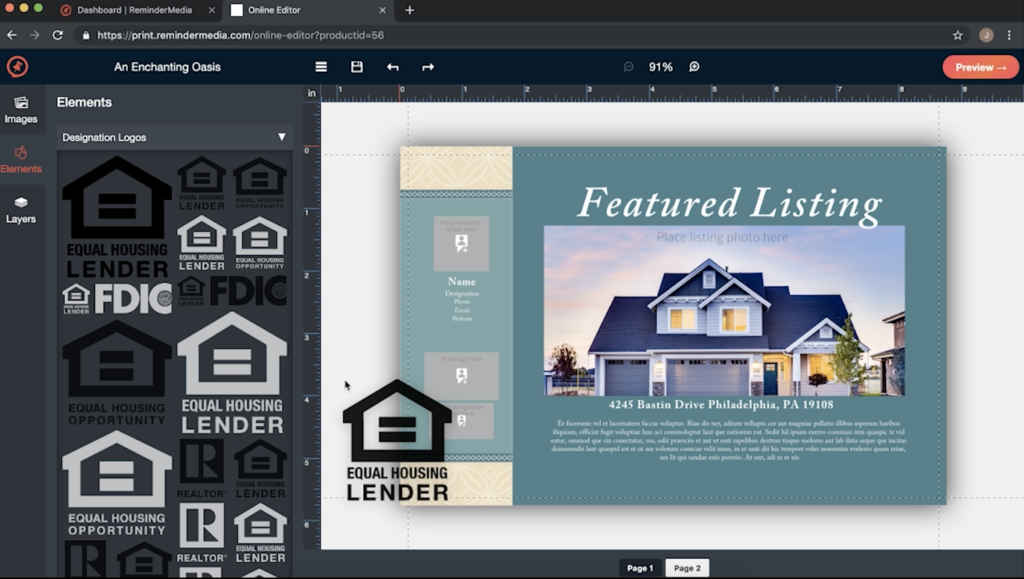
Now that your listing photos are in place, it’s time to add in your branding and designations. To add a designation image, just click the Elements menu on the left side of your page. Once you’ve selected the designation that you want to use, you can click and drag it to the box that says “Place designation logo here.” You’ll see that it turns a light gray color, which means it’s ready for you to drop it in.
Next, it’s time to add your logo and headshot. Start off by clicking the Images tab. From there, select your photos, drag them to the logo section of your card, and resize as necessary. Then, do the same exact thing with your headshot.
![]()
![]()
Now, say you actually want to add another listing to this design. Let me show you how you can do just that. In order to place more photos, you’re going to want to resize the existing main photo and move it into position. I’ll start by shrinking down the main image and moving it to the left so there’s room to add in a second image. I’m also going to do the same process with the text here.
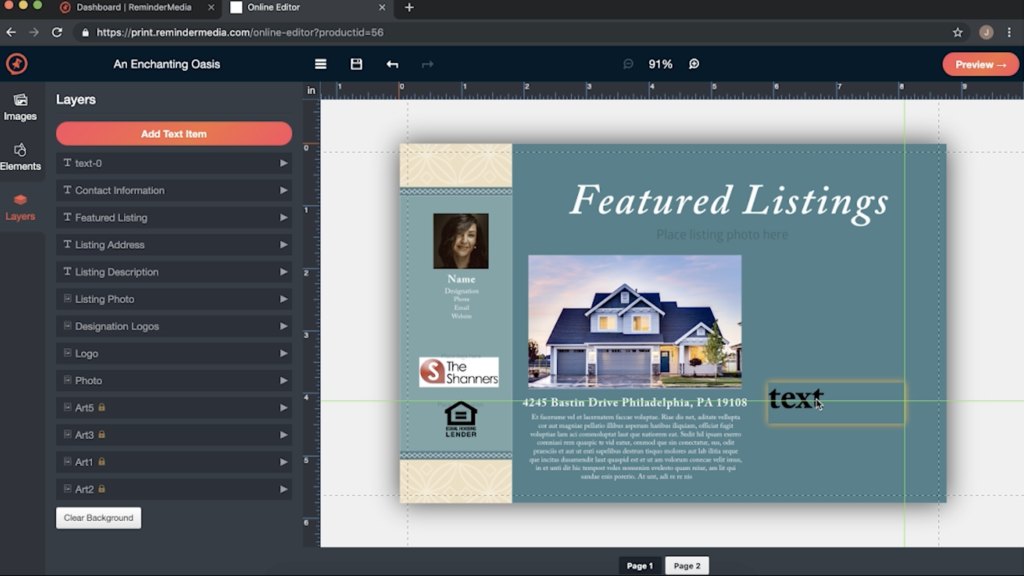
With that image in place, now we have plenty of room to place a second listing on the right side of the postcard. We’ll start again by editing the text. Click the Layers tab on the left-hand side of the page. You’ll see that you can edit any of the existing photos and text just by clicking on them. You can also click the button up top to add a new text item. So, go ahead and do that.
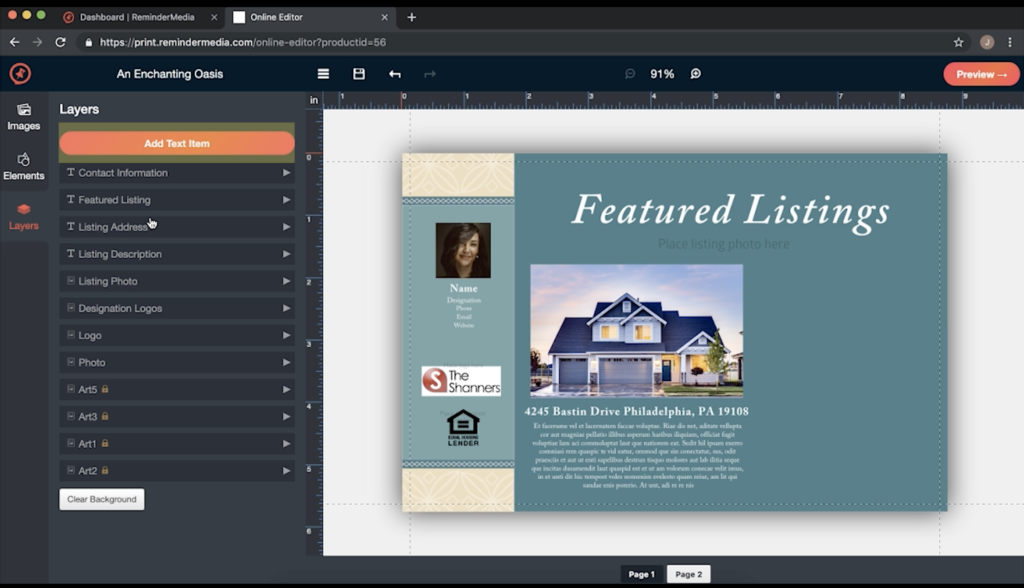
When you click the button, you’ll see the word “text” added to your card. Reposition the text so it lines up with the address line on the left. You may have to start out by resizing this box, and then pulling it around the card. It’ll take a second to get everything right, but don’t worry—you’ll definitely get it.
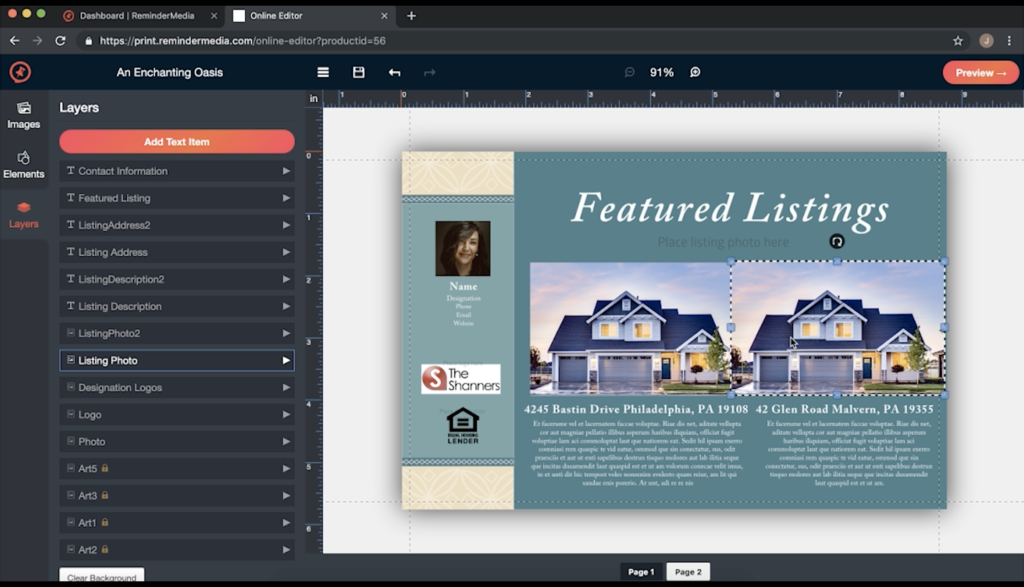
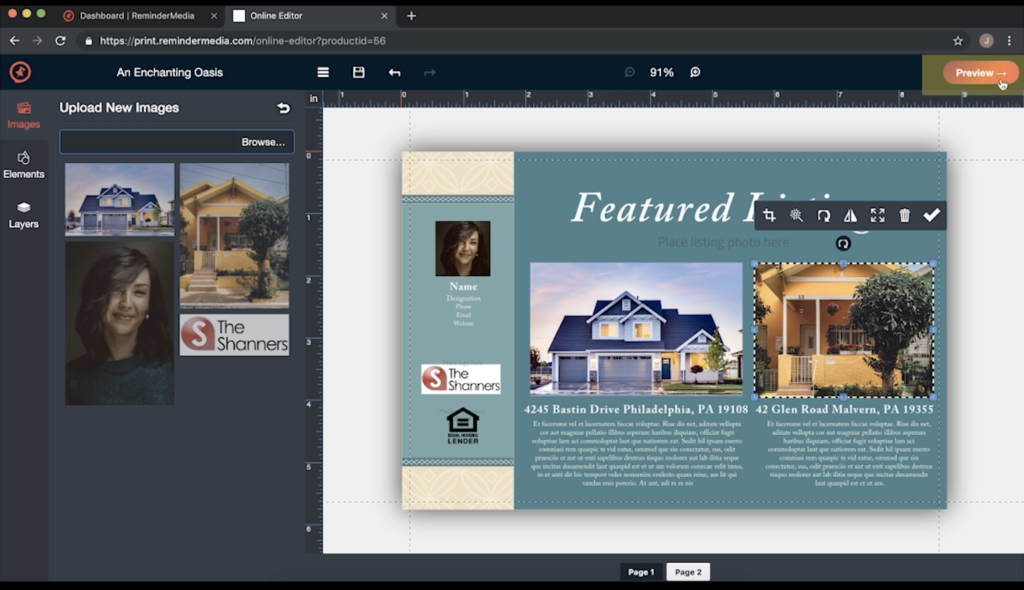
From there, update the text with the address of your second listing. You can adjust the attributes of the text using the options on the left. Then, drag your second listing’s photos onto the card. You can do this by going back to the Layers panel, finding an existing photo, hitting the drop-down for options, and hitting this “two squares” button. This is going to duplicate your photo. Now, you can drag the photo that we just duplicated over to the right side of your screen. And we’ll go back to the Images tab to add in the actual photo.

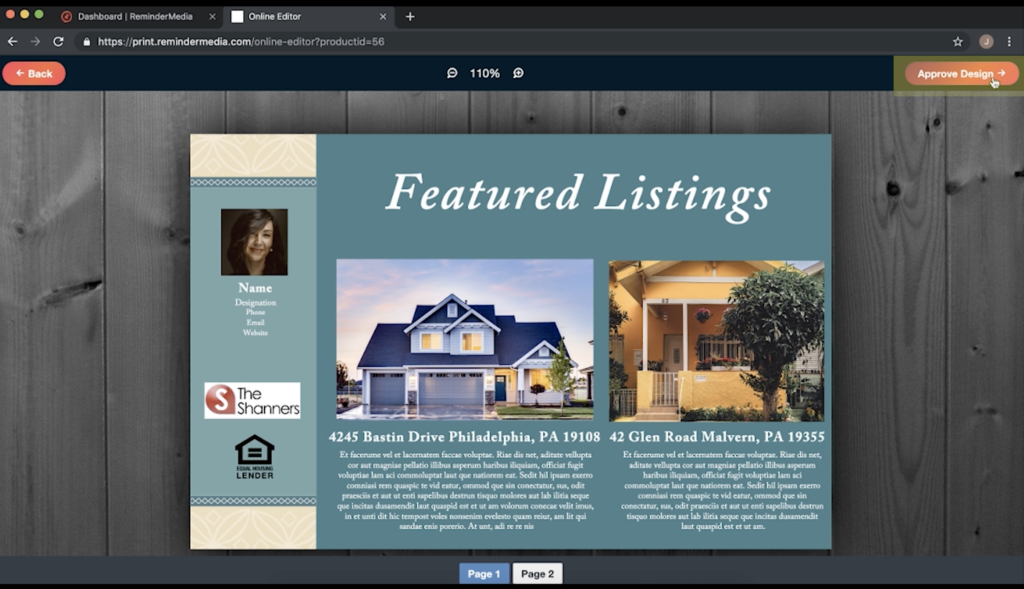
When you’re done updating all of your listing details, click the Preview button in the top right corner to see what your card will look like when it’s printed.
Great job! But, before you click the Approve button, click Back, because there’s still one last thing you need to do. Click the Page 2 button at the bottom of your screen. And, from there, you’ll put in all your information for the mailing side of the postcard, along with your headshot, logo, and designation. When you’re done, you can hit that Preview button again and hit Approve Design to begin the checkout process.
The takeaway
And that’s it! Now you know how to customize a single postcard with multiple listings. If you liked this video, be sure to like ReminderMedia on Facebook. Subscribe to this YouTube channel, and hit that bell icon to be notified when new videos are released. But, most importantly, put a pin in it.