How to Upload a List to Recipient Manager
1. Log into your account and select Recipients on the left-hand sidebar.
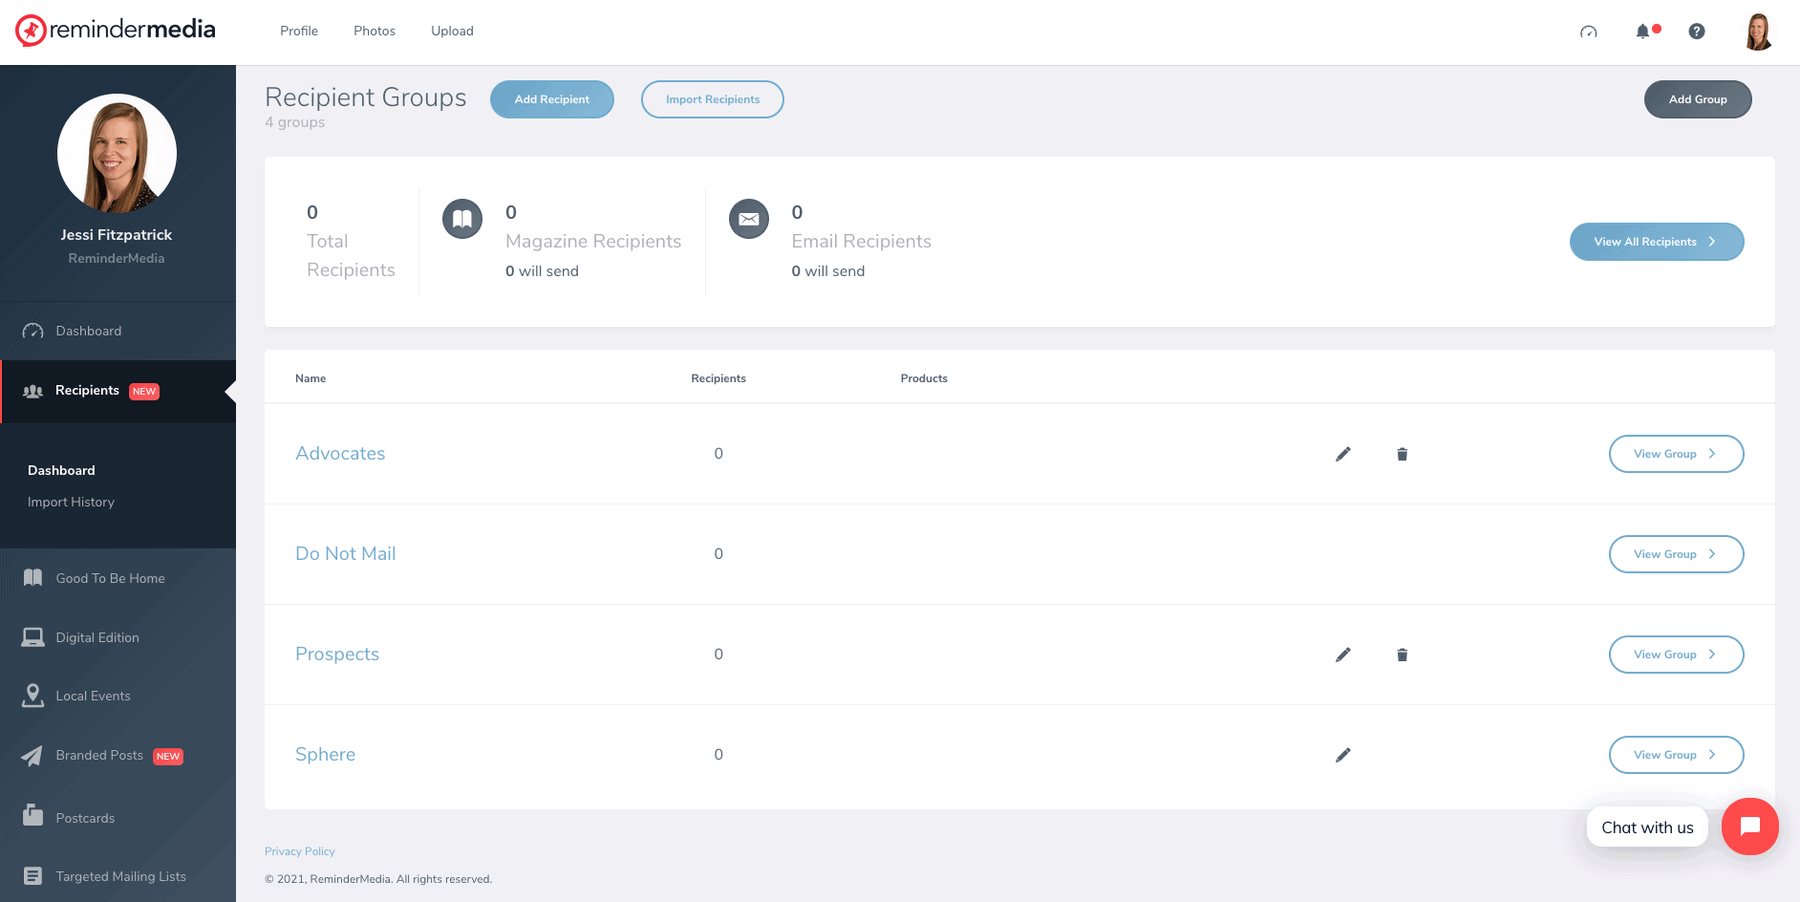
2. Here you will see an overview of your Recipient Groups as well as how many Recipients will receive the magazine or emails.
3. At the top of the page click Import Recipients.
4. Browse to select your file on your computer. If you need help putting your file together you can click Download a template file to download our sample file for reference. If you need help exporting a file from your current system you can see a variety of export instructions here.
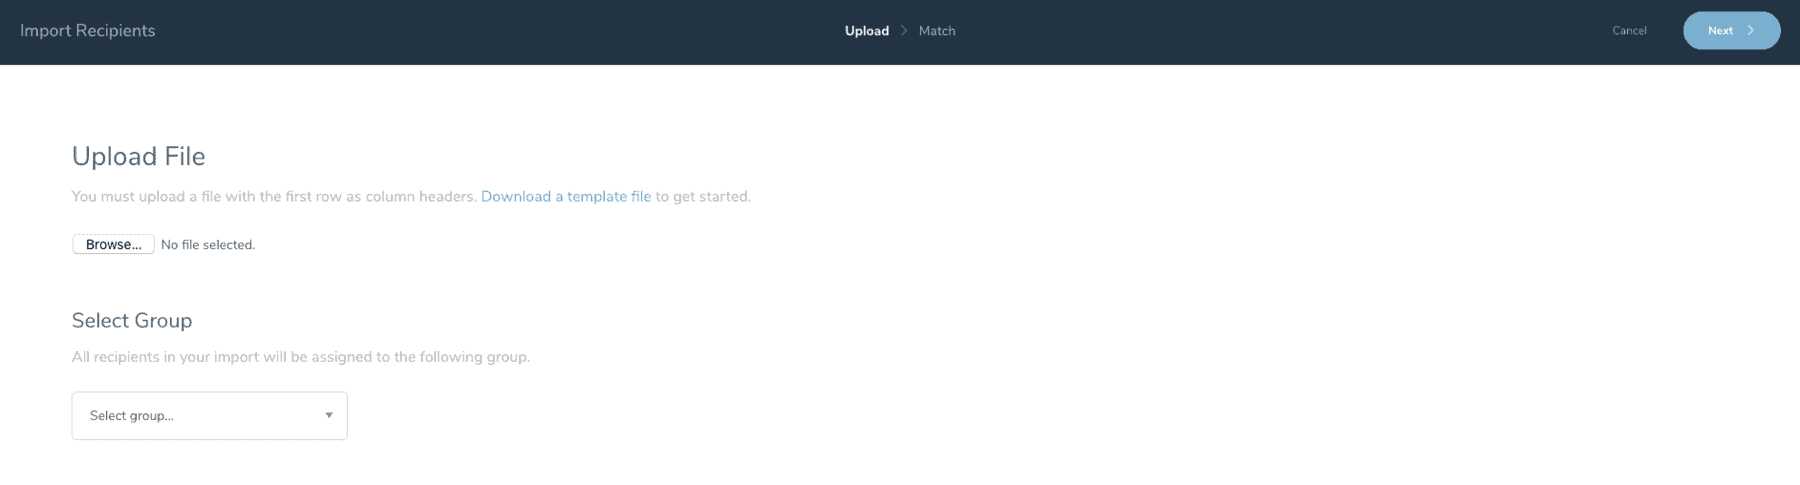
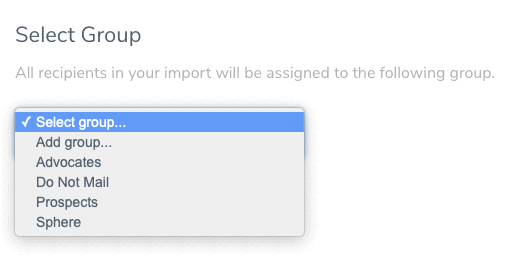
5. Select the Group you want the list uploaded to. You can select from the dropdown or add a new group by clicking Add Group.
6. On the next page match the fields in your file.
7. You can select or de-select the box on the right-hand side under Import for fields you want added or to leave out of the import.
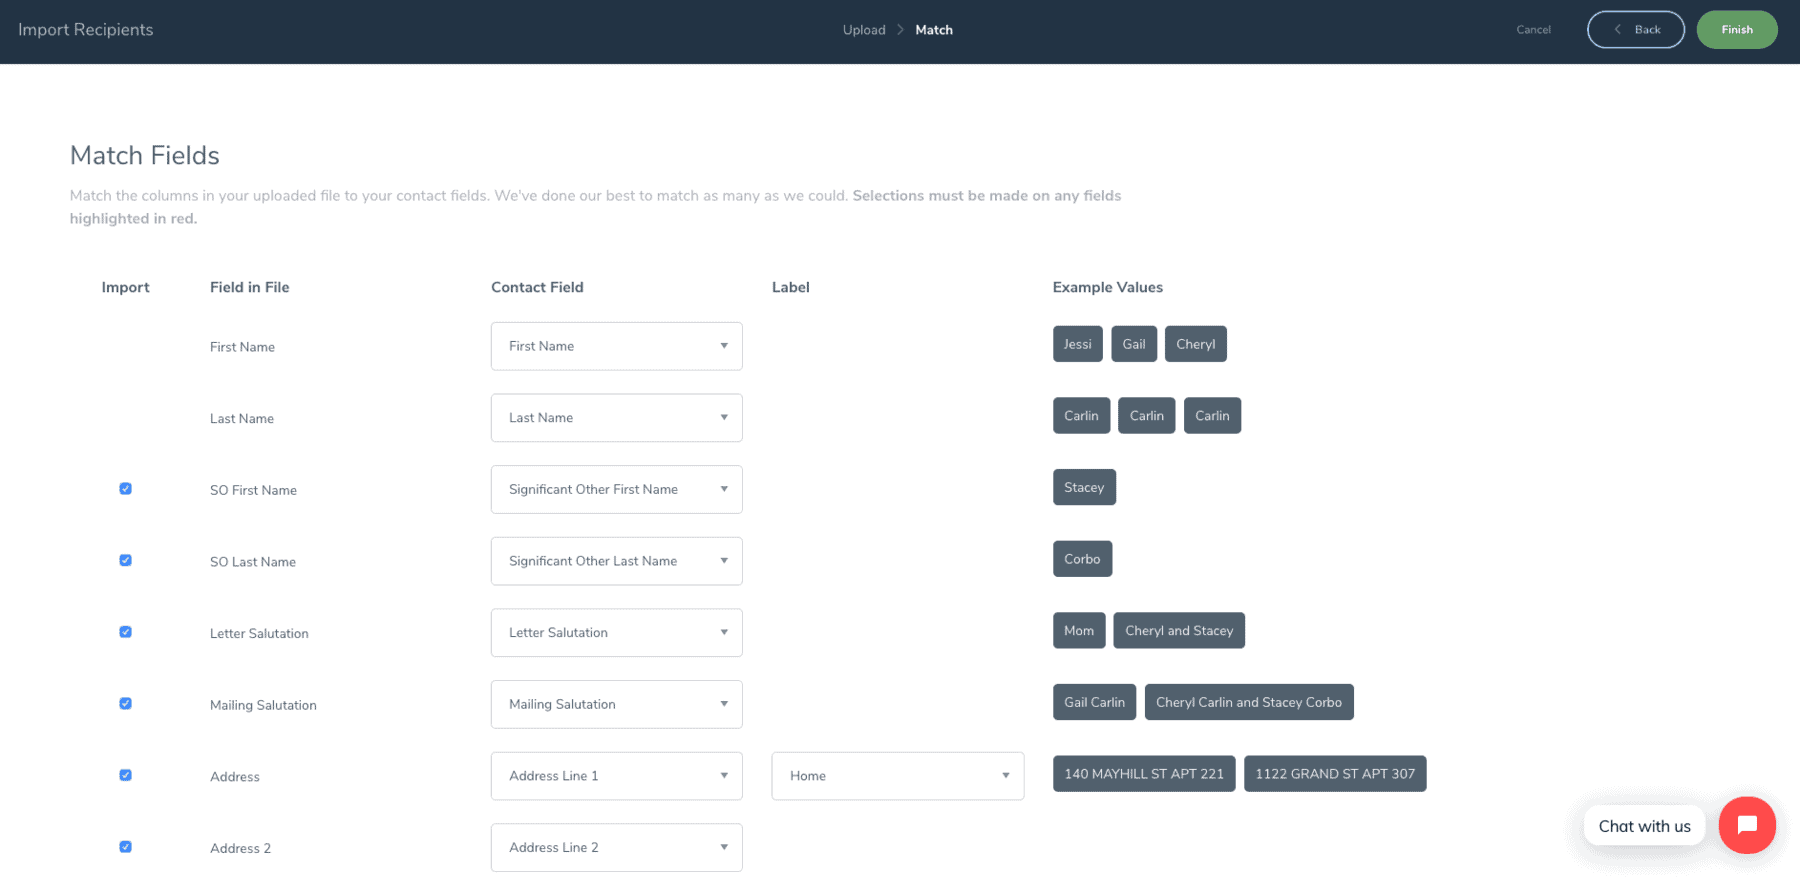
8. When you are ready click Finish. This will take you to the Import History page where your list will be processing.
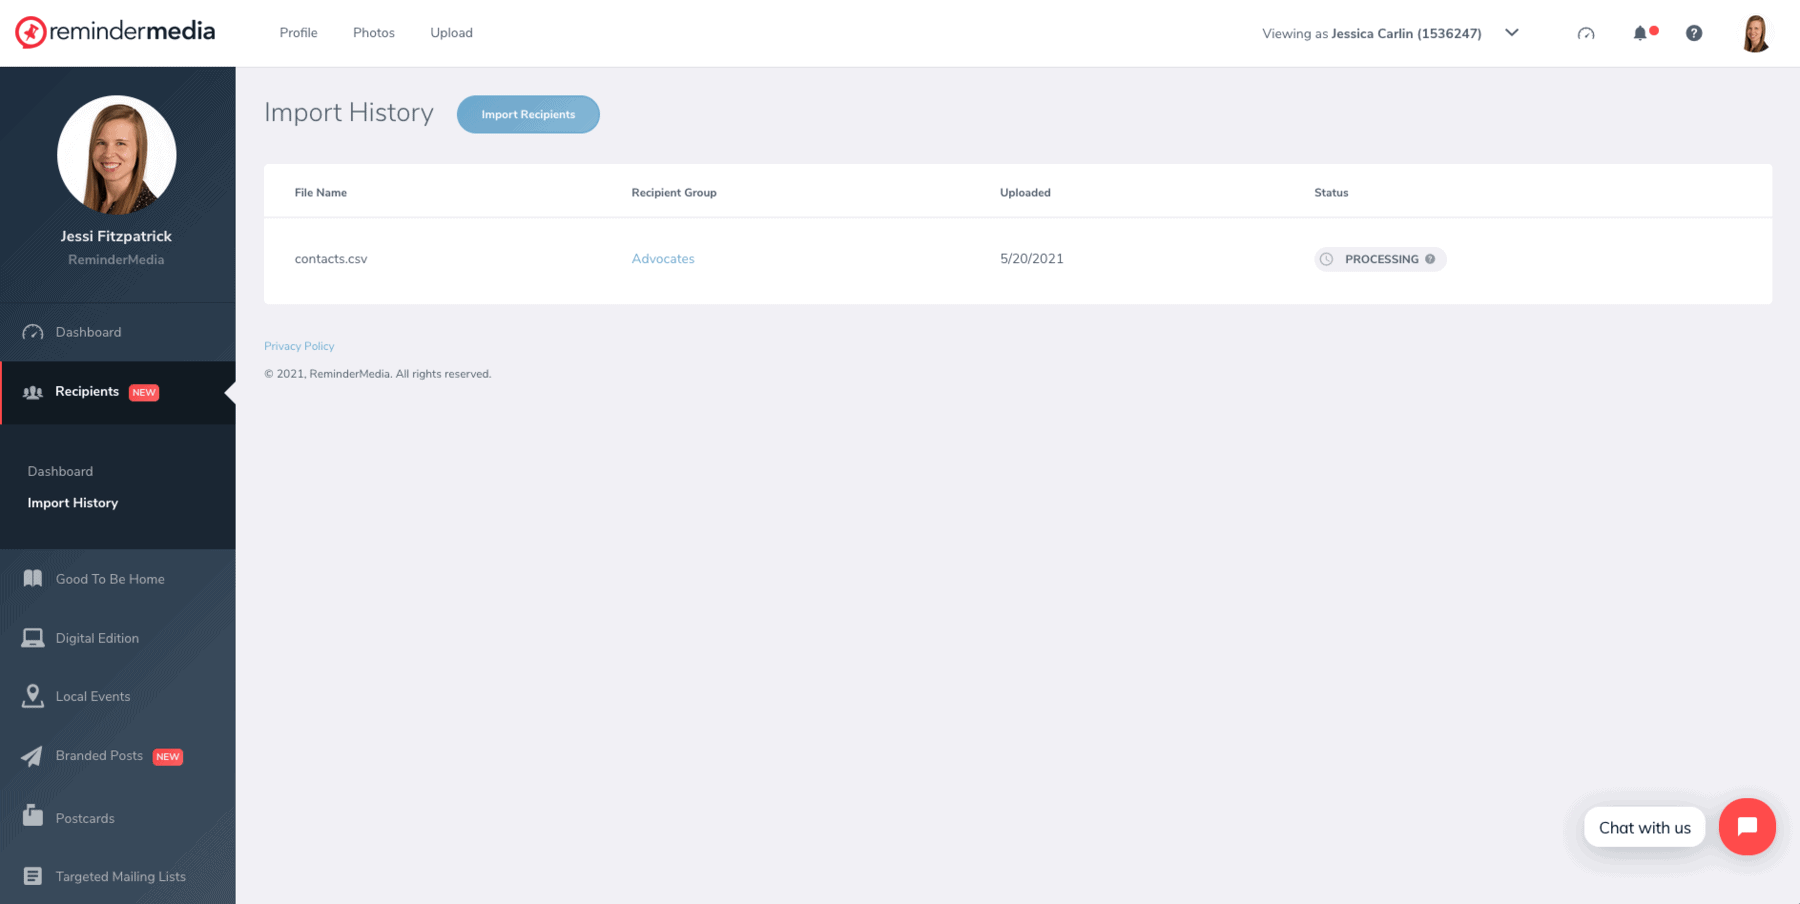
9. You can navigate away from this page as some lists might take a few minutes to process based on the size. You will receive a notification in the upper-right corner of your account under the bell icon once your list has finished processing.

Statuses
- Processing: Currently processing a list
- Complete: List has completed processing and recipients are in your Recipient Manager.
- Partial: Some recipients in your list were not imported due to errors.
- Failed: The list failed due to errors. Check the format and try again.
