Back to Frequently Asked Questions
How to Share or Schedule Blogs from Branded Posts
1. Log in to your account, select Branded Posts from the left-hand sidebar. A new list of options will appear from the drop-down. Select Post Library from the side bar.
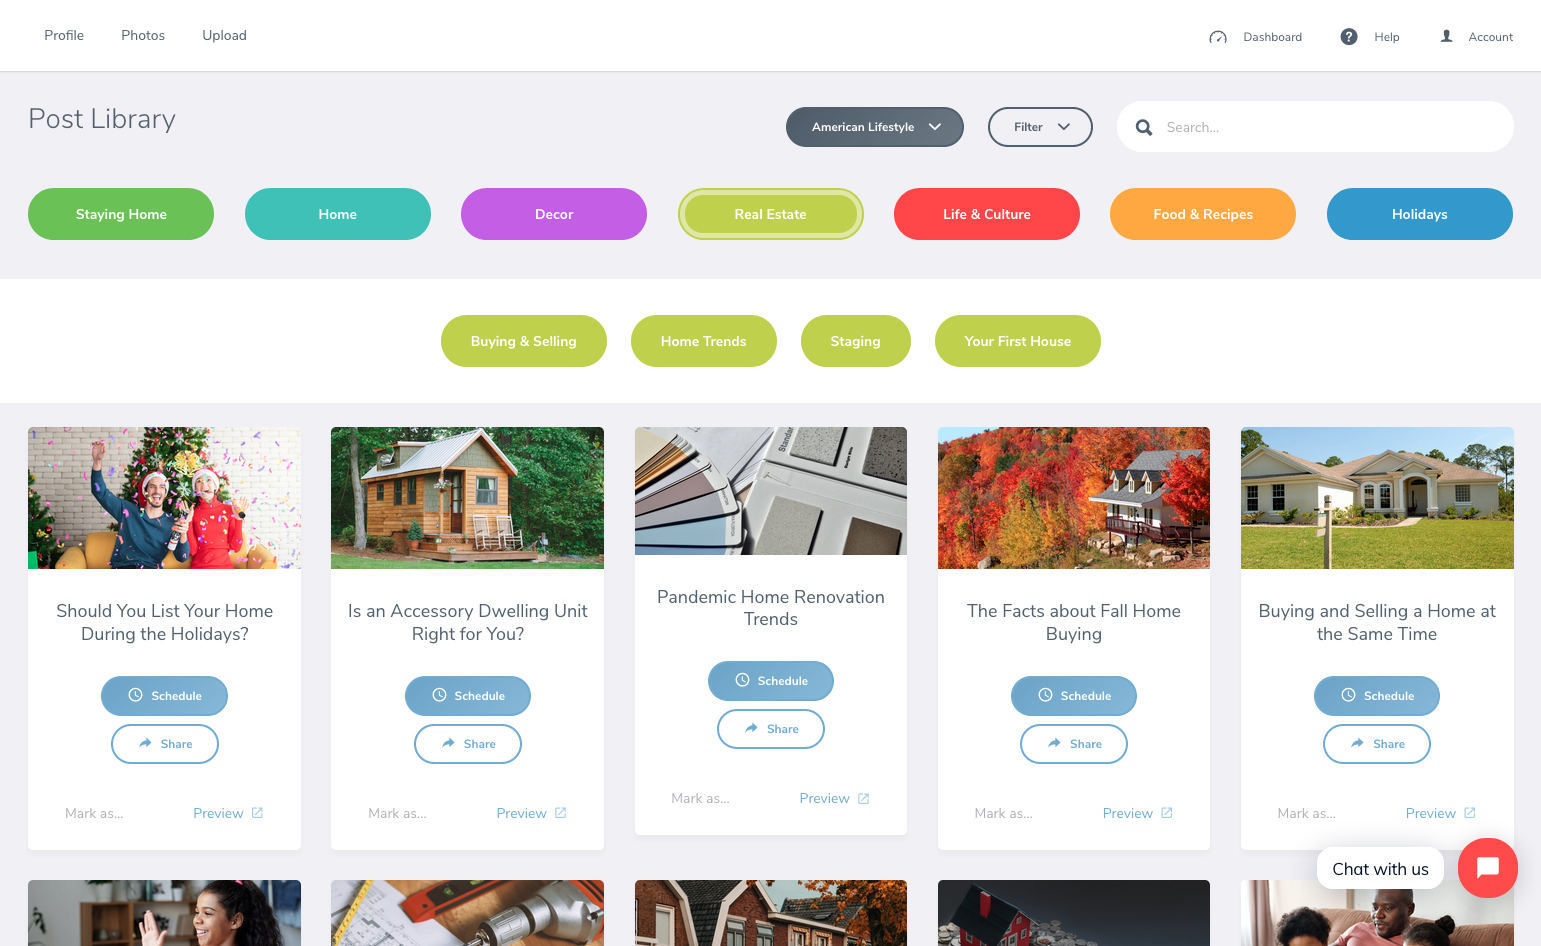
2. This page allows you to browse through the post library by category and subcategory. Click any of the category names to select and browse through specific blogs. You can also select the publication at the top of the page and switch between the two libraries.
3. To search for a blog by title or keyword, use the Search box at the top right of your screen. To end a search, click the ‘X’ to the right of the search box to clear.
4. To preview what a blog will look like, simply click the Preview Post button on that blog.
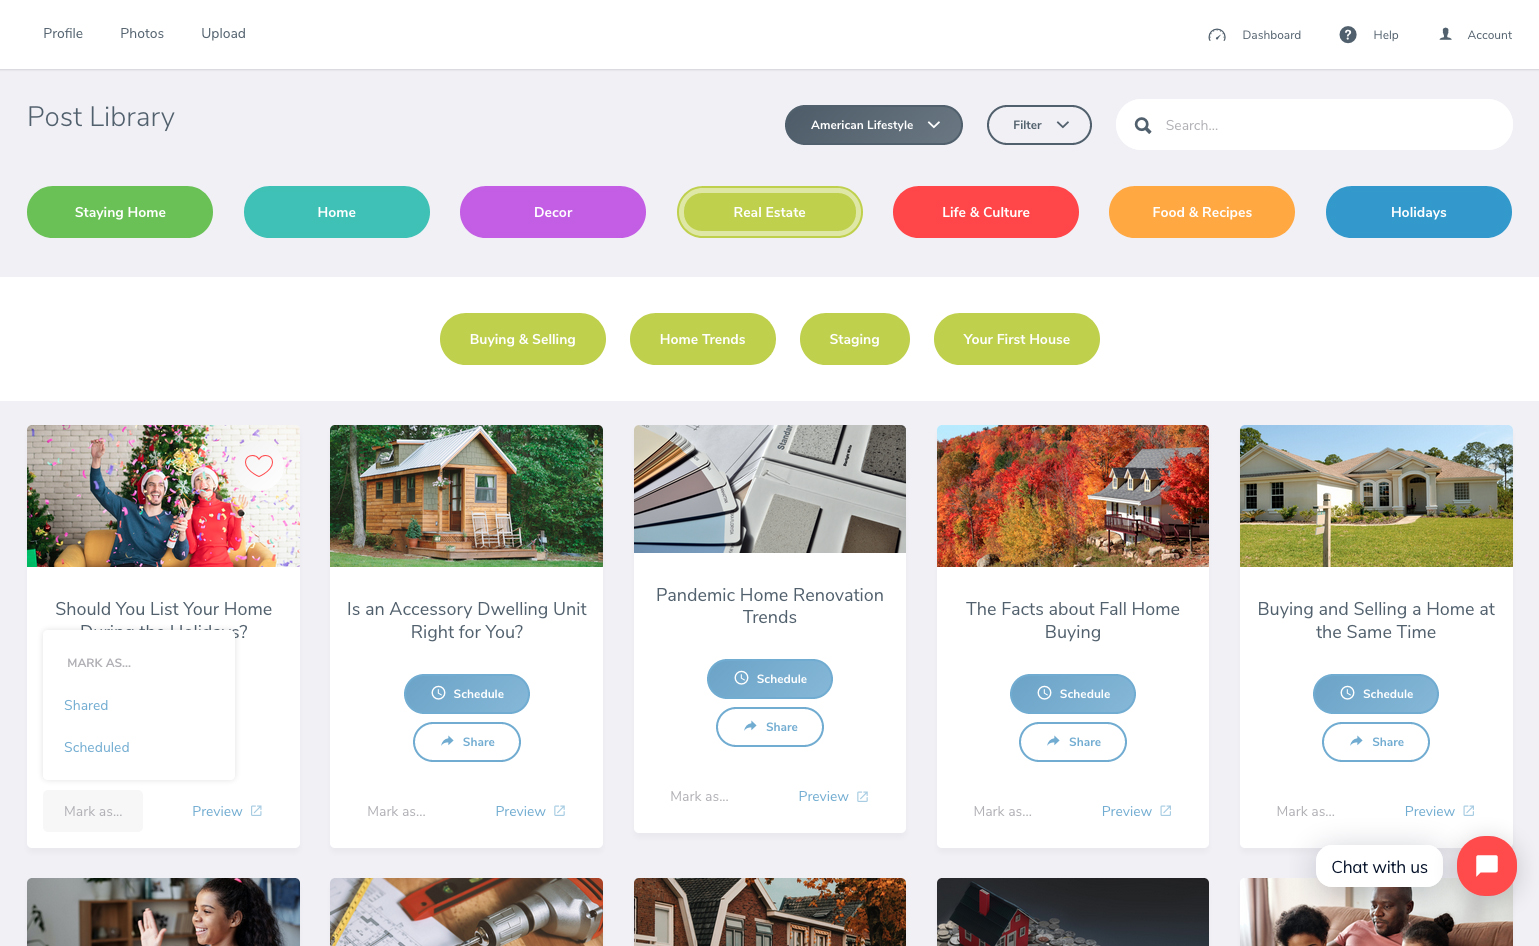
5. You can mark blogs as shared or scheduled. You can also click the upper right corner of any blog to favorite it. Use the filter at the top to filter based on how you marked each blog.

6. To share a blog, click share and a variety of social media icons will appear for the blog title (Facebook, Twitter, LinkedIn, Pinterest, or email).
7. A new window will appear directing you to that social media platform to share the post.
Schedule to Facebook
1. You can connect a Facebook Business Page to your account to schedule future blog posts.
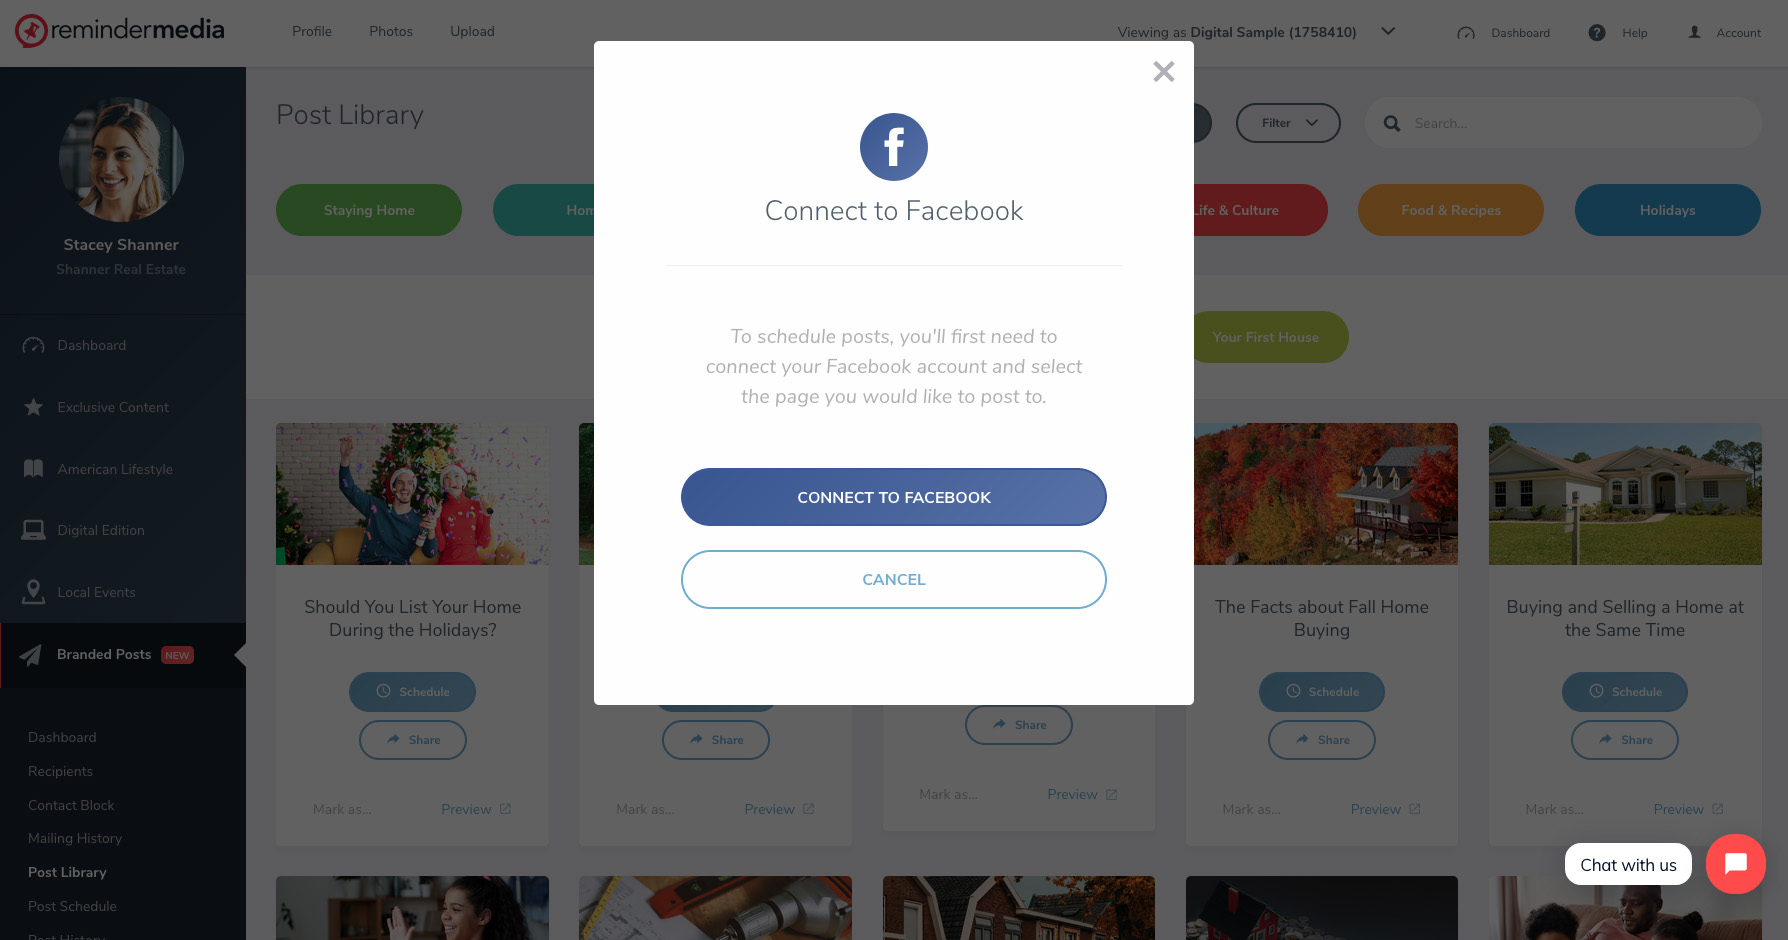
2. Click Schedule on any blog. This will prompt you to connect your account. Make sure you are logged into the Facebook account that is an admin of the Facebook Business Page you want to use. If you don’t have a Business Page, watch this video to learn how to make one.
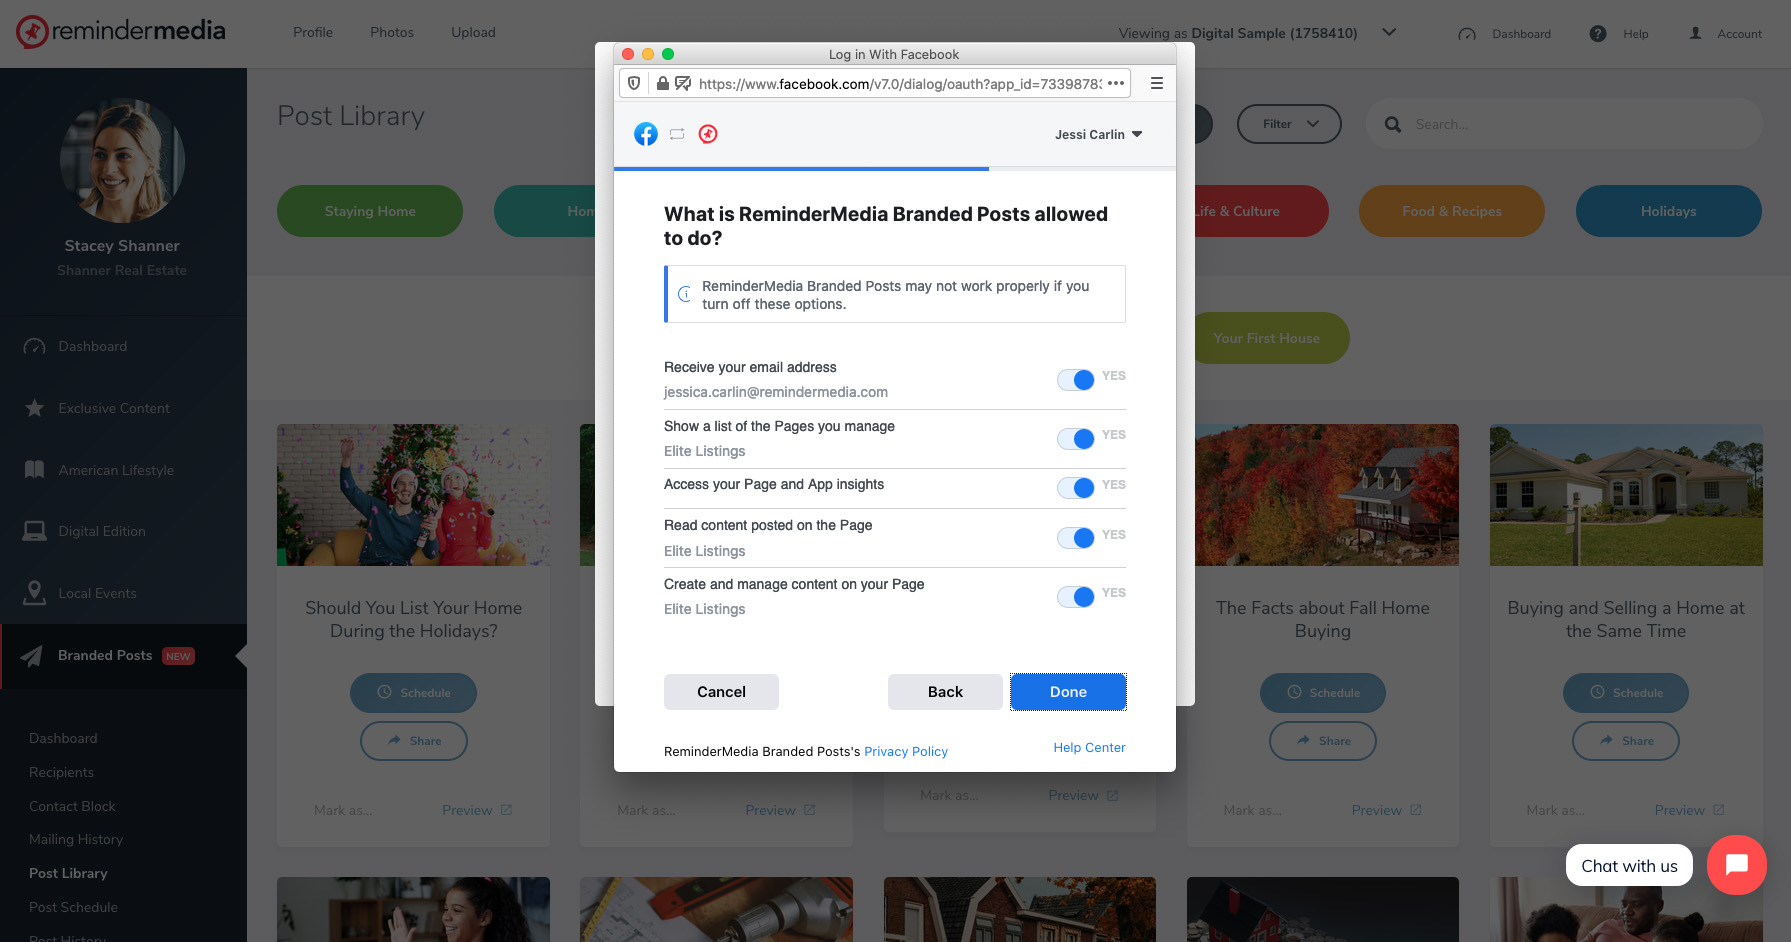
3. Add your business page and keep all options toggled on.
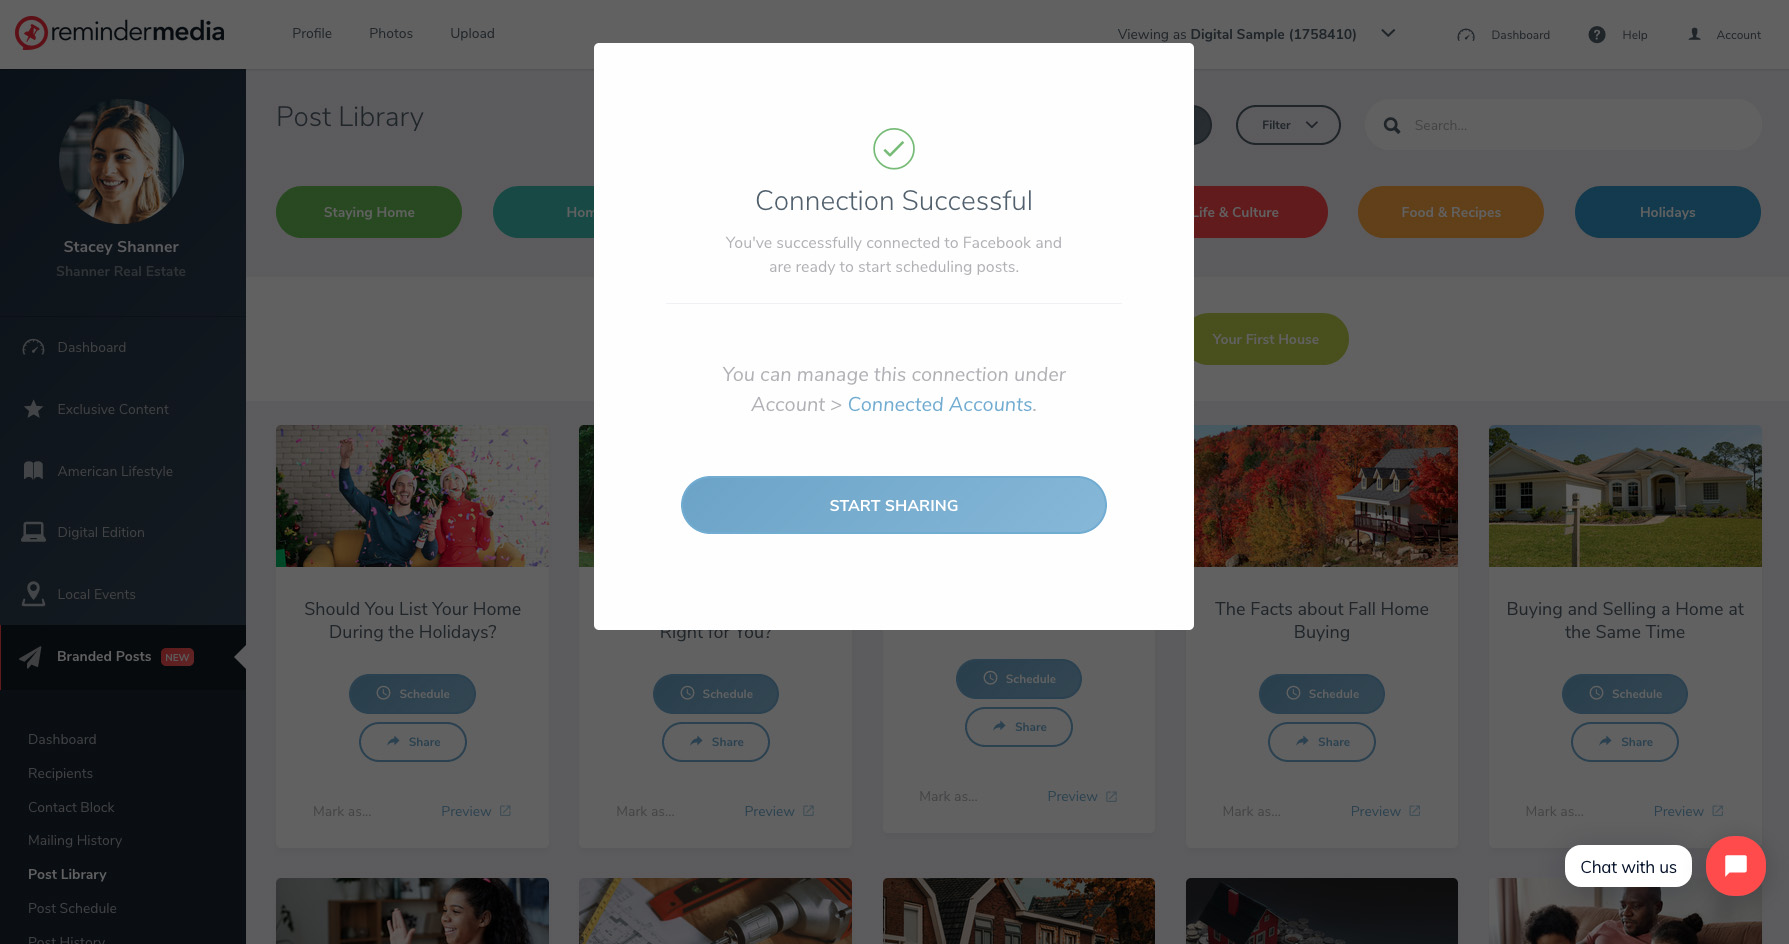
4. Once connected you can begin to schedule posts.
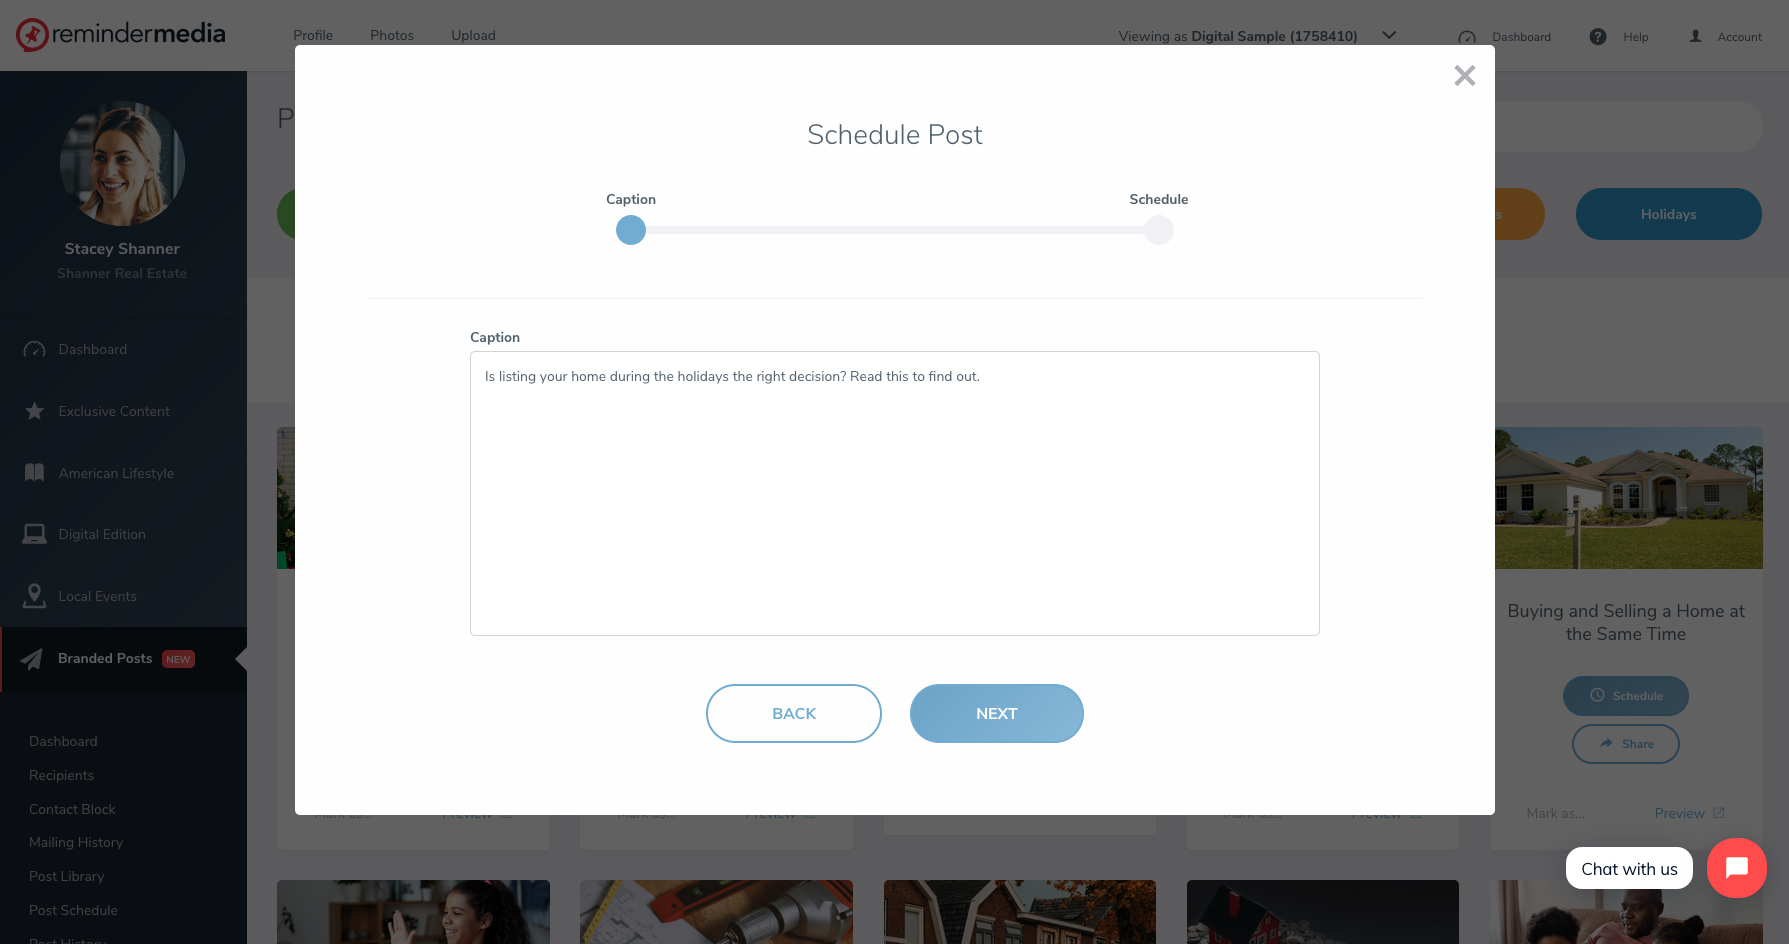
5. Click Schedule on any post. You will have the option to add a caption (one will always be provided), then click Next.
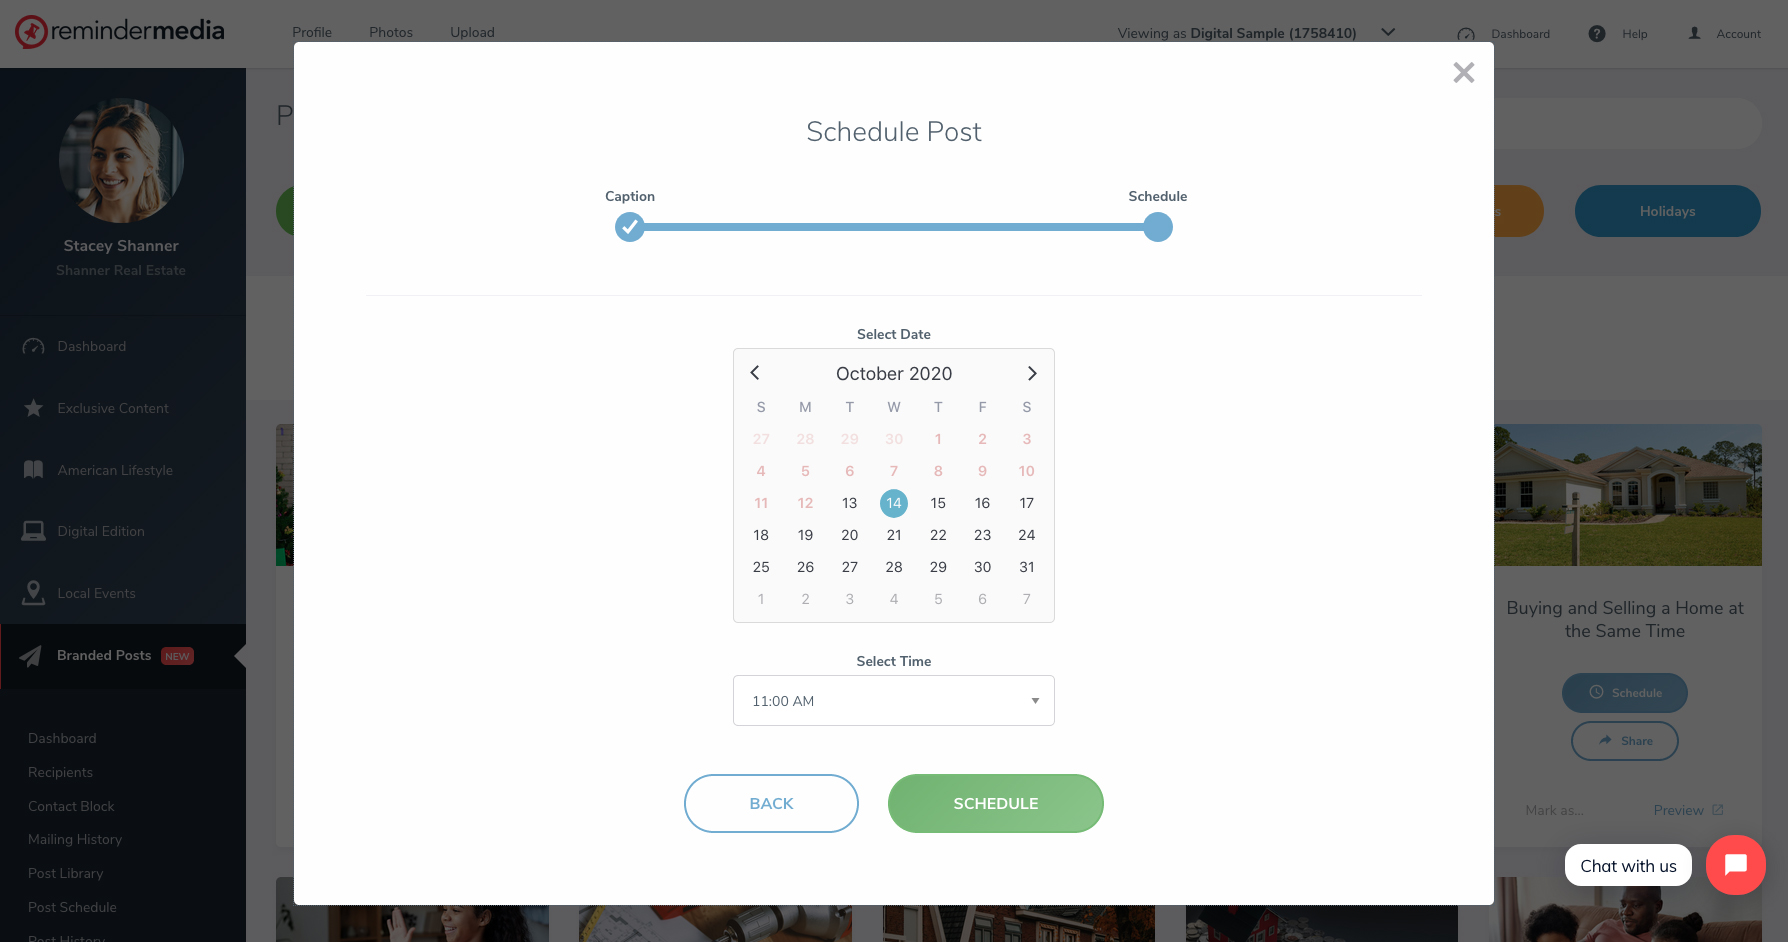
6. Schedule the day and time of your post and click Schedule.
7. To edit or delete a scheduled post, go to Post Schedule in the side bar.
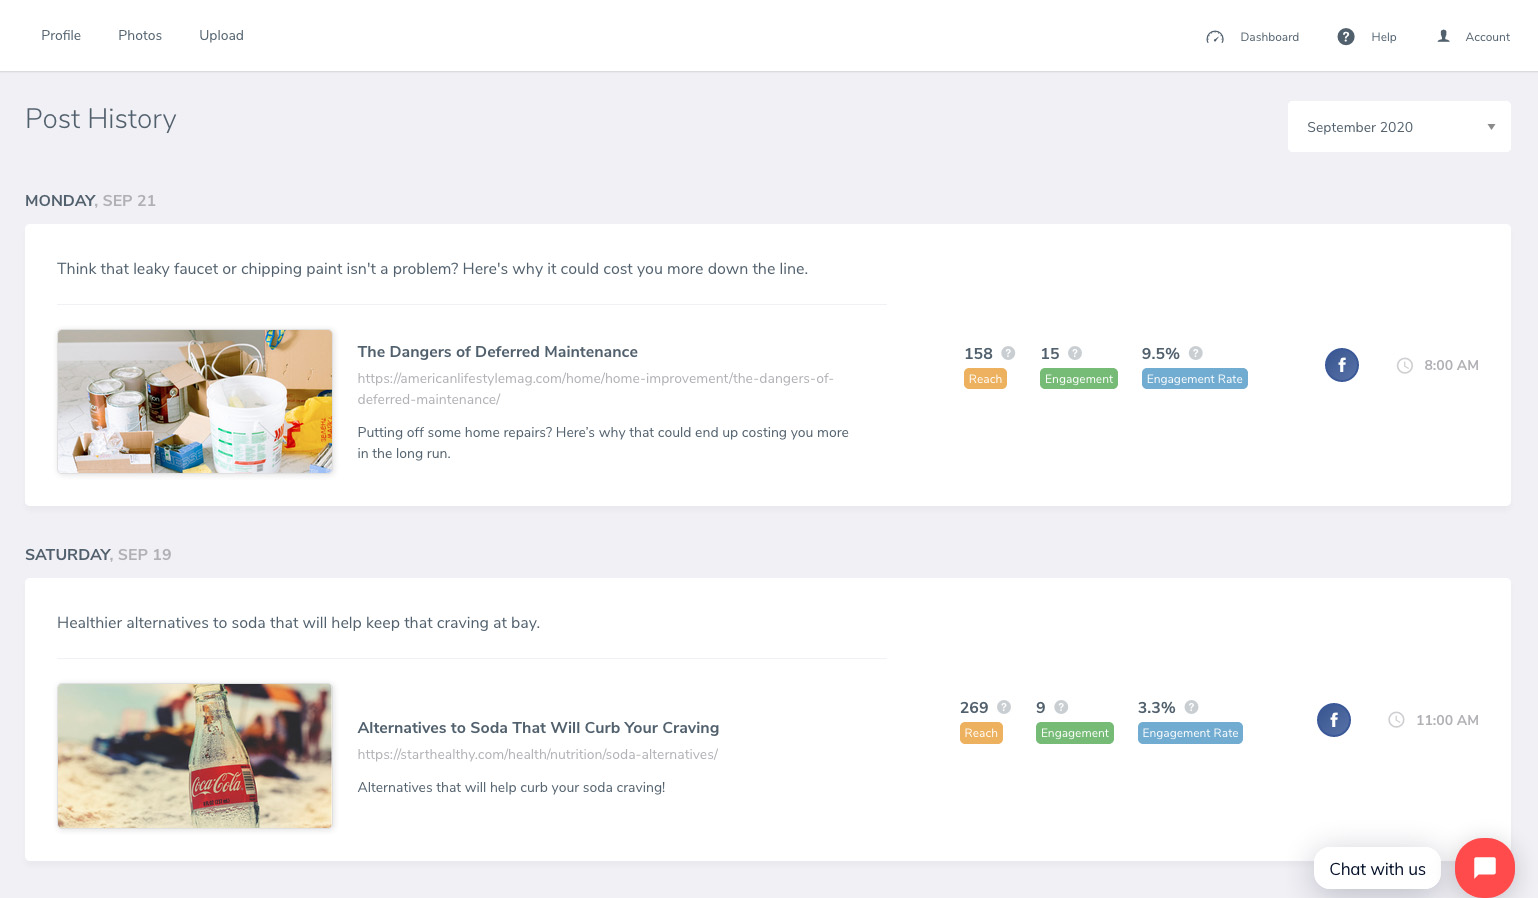
8. To see post analytics, go to Post History in the side bar.
Back to Branded Posts
1. Log in to your account, select Branded Posts from the left-hand sidebar. A new list of options will appear from the drop-down. Select Post Library from the side bar.
2. This page allows you to browse through the post library by category and subcategory. Click any of the category names to select and browse through specific blogs. You can also select the publication at the top of the page and switch between the two libraries.
3. To search for a blog by title or keyword, use the Search box at the top right of your screen. To end a search, click the ‘X’ to the right of the search box to clear.
4. To preview what a blog will look like, simply click the Preview Post button on that blog.
5. You can mark blogs as shared or scheduled. You can also click the upper right corner of any blog to favorite it. Use the filter at the top to filter based on how you marked each blog.
6. To share a blog, click share and a variety of social media icons will appear for the blog title (Facebook, Twitter, LinkedIn, Pinterest, or email).
7. A new window will appear directing you to that social media platform to share the post.
Schedule to Facebook
1. You can connect a Facebook Business Page to your account to schedule future blog posts.
2. Click Schedule on any blog. This will prompt you to connect your account. Make sure you are logged into the Facebook account that is an admin of the Facebook Business Page you want to use. If you don’t have a Business Page, watch this video to learn how to make one.
3. Add your business page and keep all options toggled on.
4. Once connected you can begin to schedule posts.
5. Click Schedule on any post. You will have the option to add a caption (one will always be provided), then click Next.
6. Schedule the day and time of your post and click Schedule.
7. To edit or delete a scheduled post, go to Post Schedule in the side bar.
8. To see post analytics, go to Post History in the side bar.
Back to Branded Posts
