Back to Frequently Asked Questions
How to Set Up Your Branded Post Email
1. Log in to your account, and select Branded Posts from the left-hand sidebar, or from the box labeled Branded Posts on your Dashboard.

2. Click Activate Mailing to create your new email.
3. The first page shows the list of recipient groups for your mailing. Check the box(es) for the groups you want to send to, and click the Next button.

4. On the next page you can edit your reply-to email address by selecting your email from the drop-down box.

5. You can also edit the subject line, heading, and body of the email. If you select Custom for the subject line or heading, those changes will be applied to all emails going forward. When finished, click Next.

6. Preview your email, and when ready, click the green Finish button.
7. You can change the day your mailing goes out by selecting Edit Schedule.
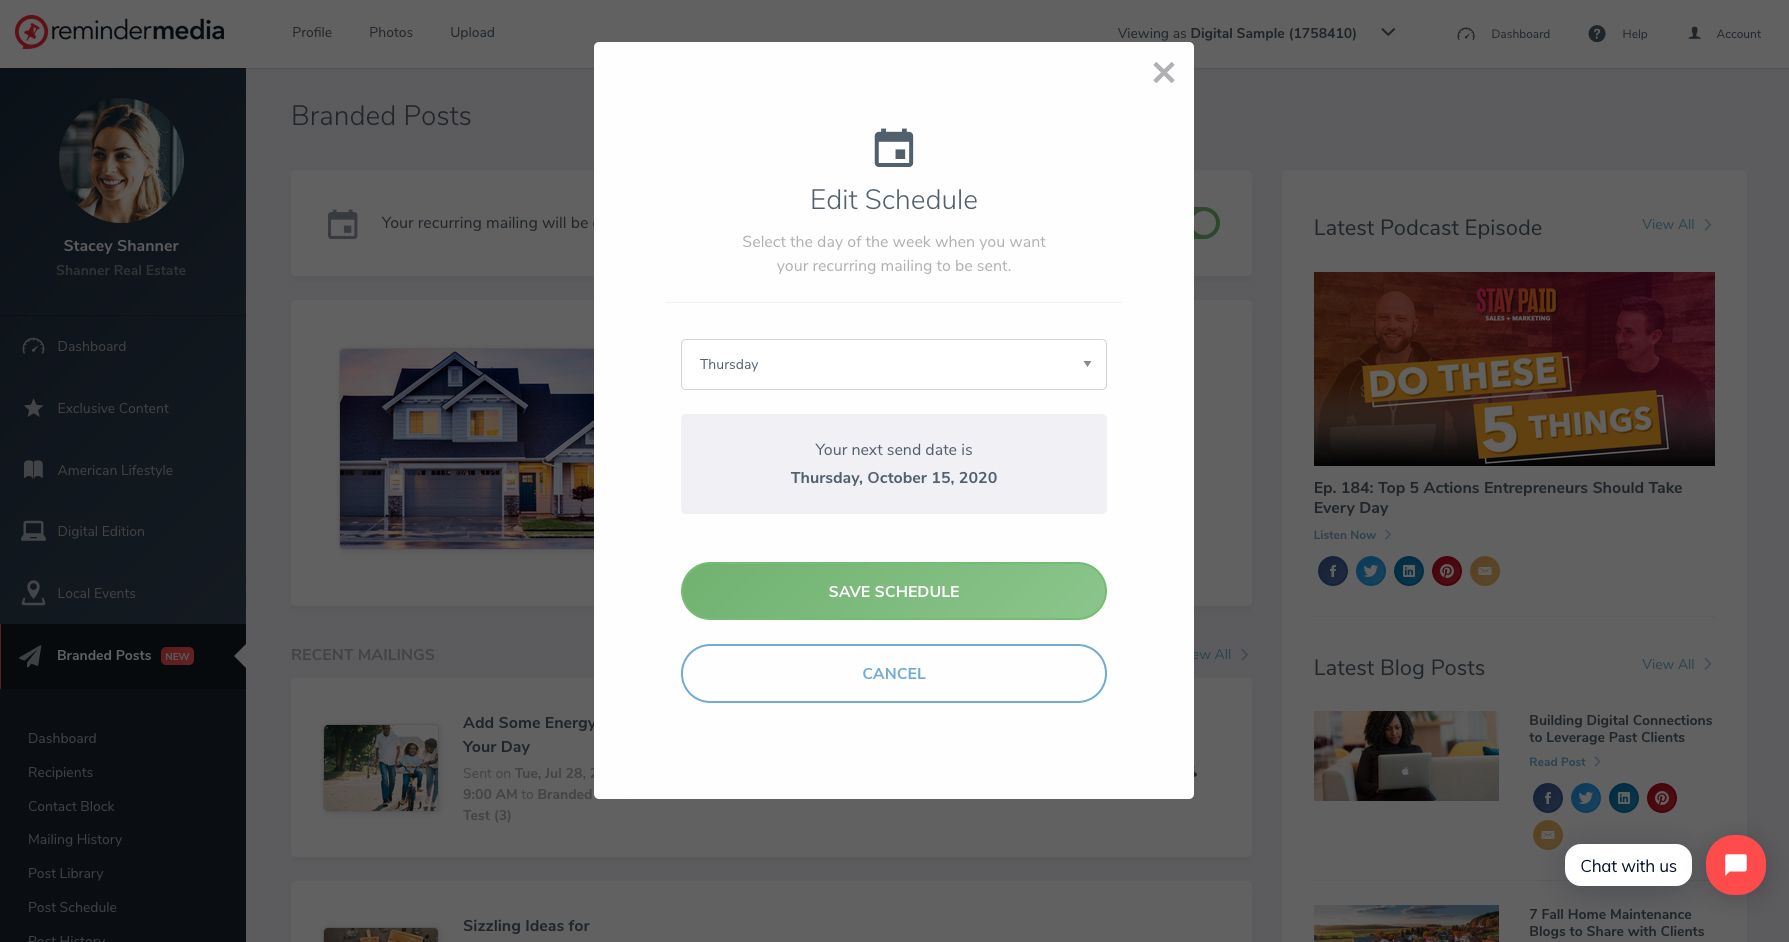
8. Select the day you want your mailing to go out.
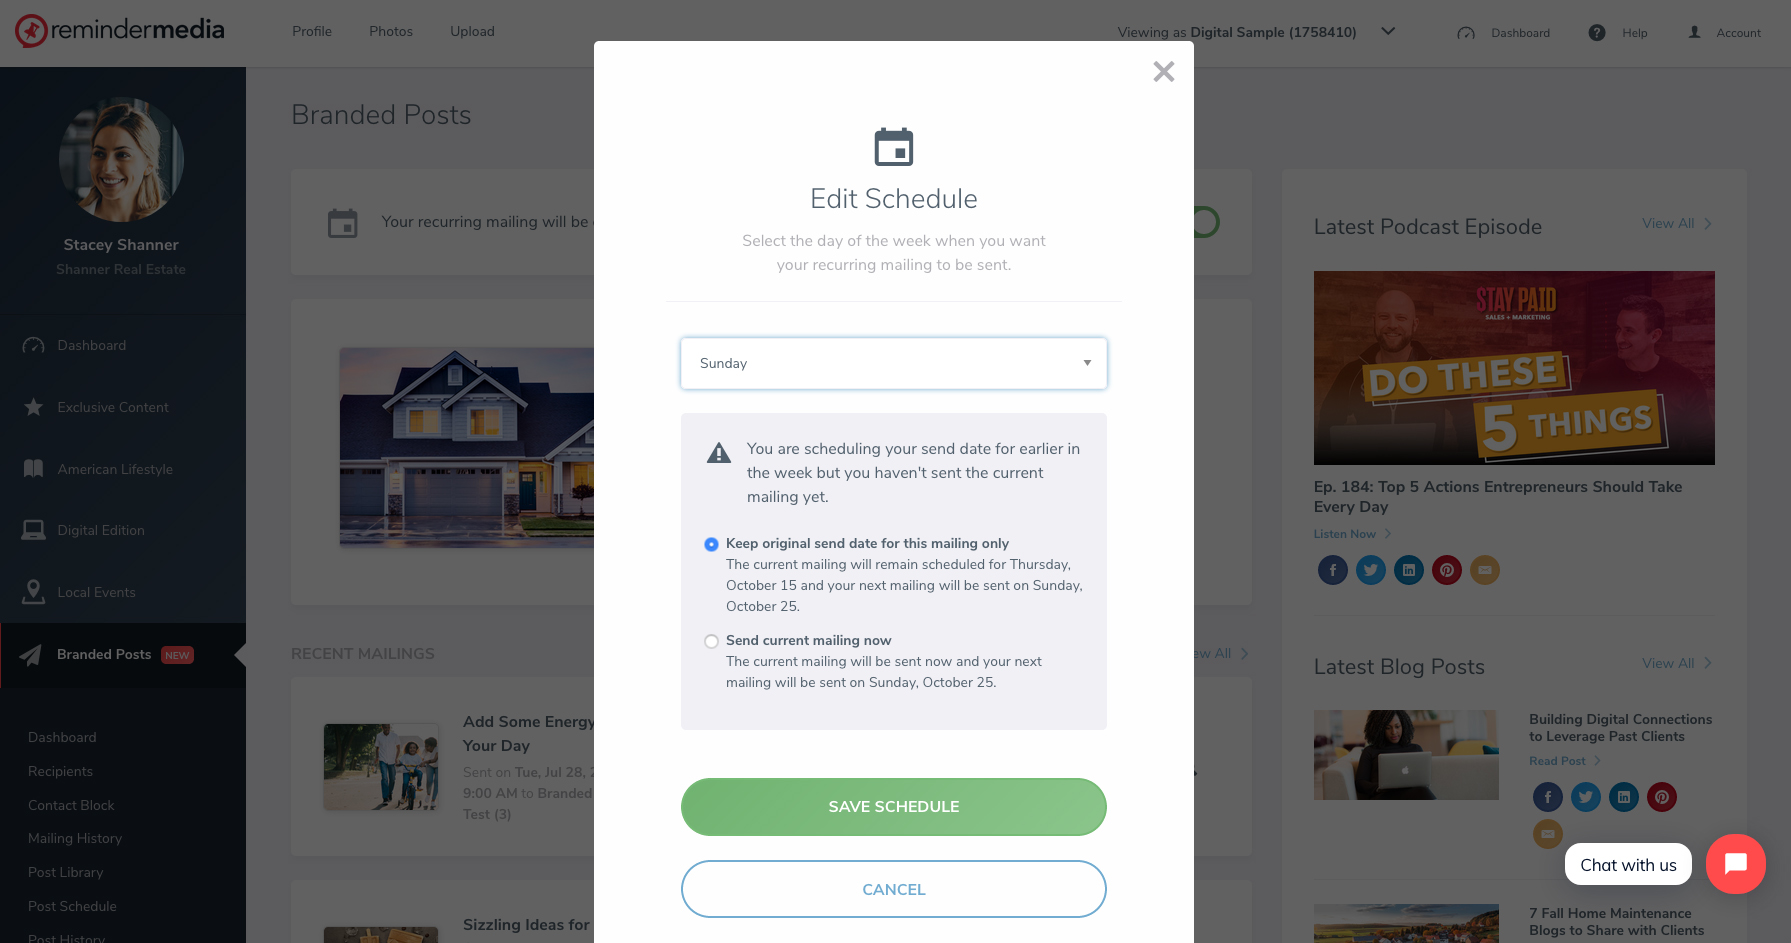
9. If the day you selected is in the past, you can choose to send your mailing now and update your future schedule or skip your mailing and update for the next week.
10. When finished select Save Schedule.
Back to Branded Posts
