Back to Frequently Asked Questions
How to Edit Your Contact Block
1. Log in to your account, and select Branded Posts from the left-hand sidebar.
2. In the left-hand sidebar, new options will appear under Branded Posts. Select Contact Block.
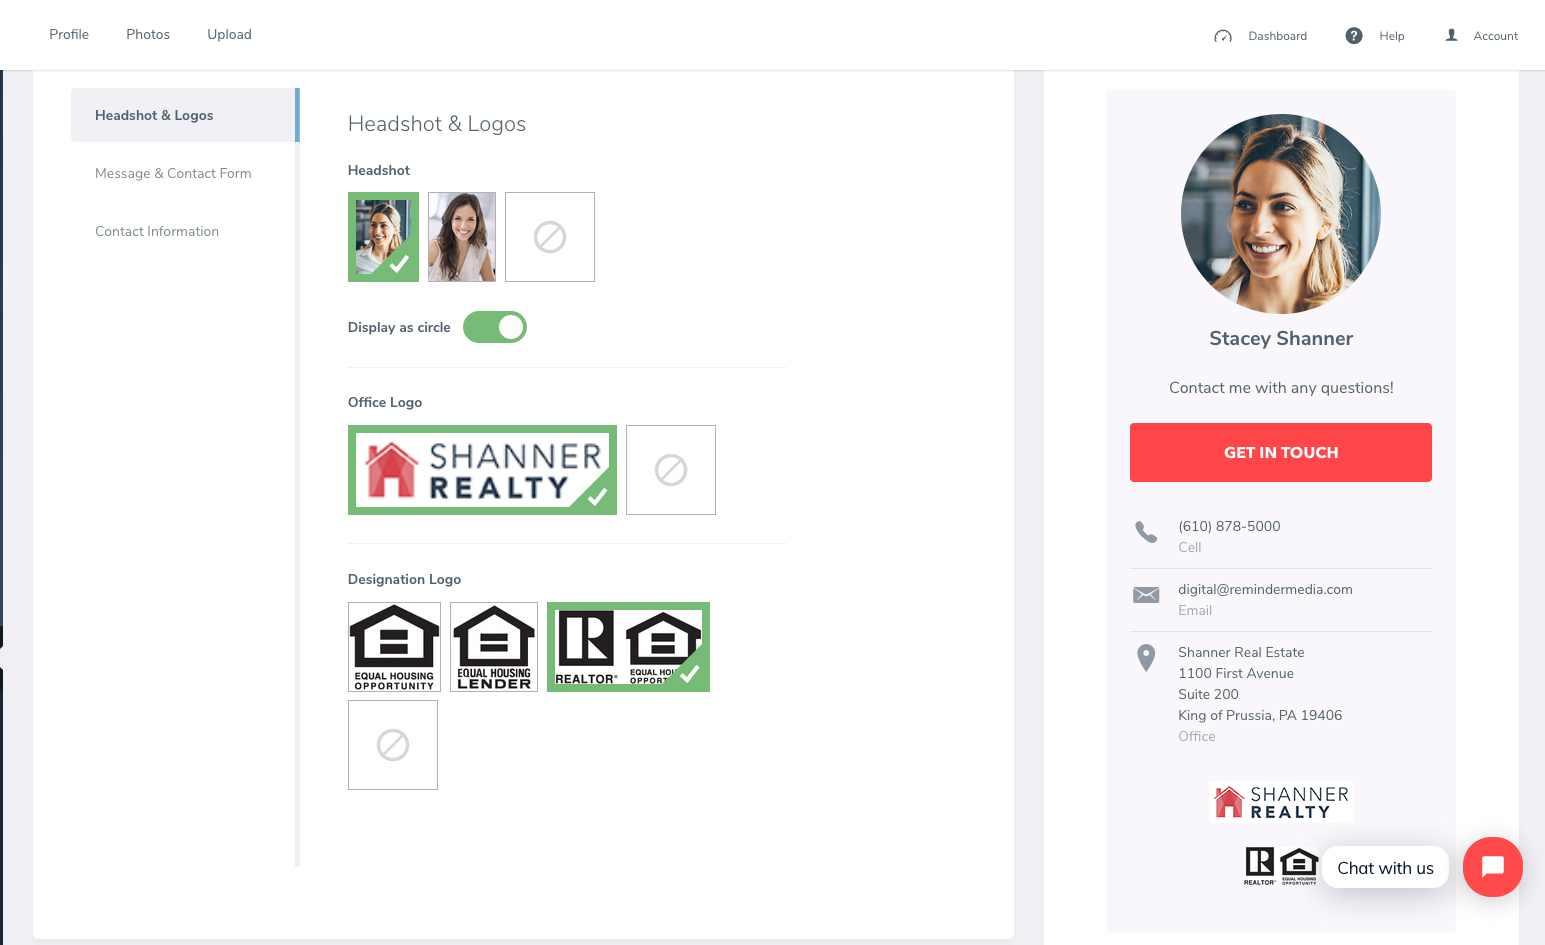
3. To choose a headshot, click Headshot & Logos in the left-hand sidebar, and select one of the headshots you have uploaded. If you have no headshots uploaded, see How to Upload Your Headshot.

4. To edit your message and contact form, click Message & Contact Form in the left-hand sidebar. In the box labeled Message you can write a personal message to your clients or prospects. You can also update the text that appears on your contact block button and email information.
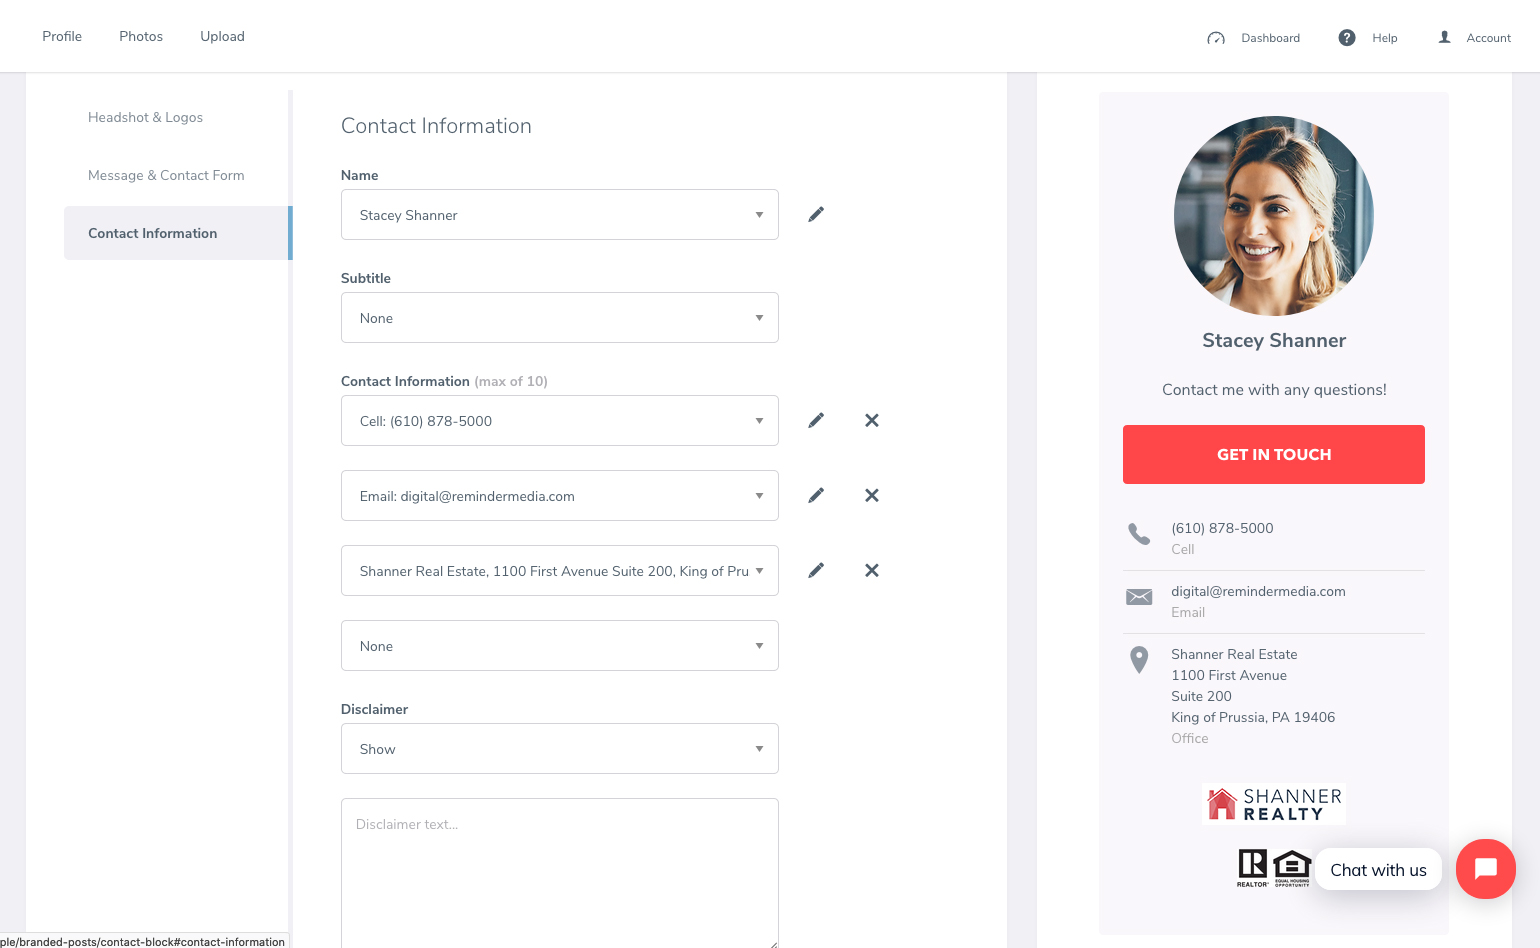
5. Contact Information allows you to update all text information in your contact block. Use the drop-down to select information from your profile, edit your information, or add new information. Here, you can update your name, subtitle, phone number, email, address, and include a disclaimer, if desired.
6. When finished, select the blue Save Changes button at the bottom of your screen.
*Note: your contact block is dynamic, meaning any changes you make will appear on every blog post you have previously shared, as well as on future shares.
Back to Branded Posts
