How to Add or Change Recipient Groups
1. Log into your account and select Recipients on the left-hand sidebar.
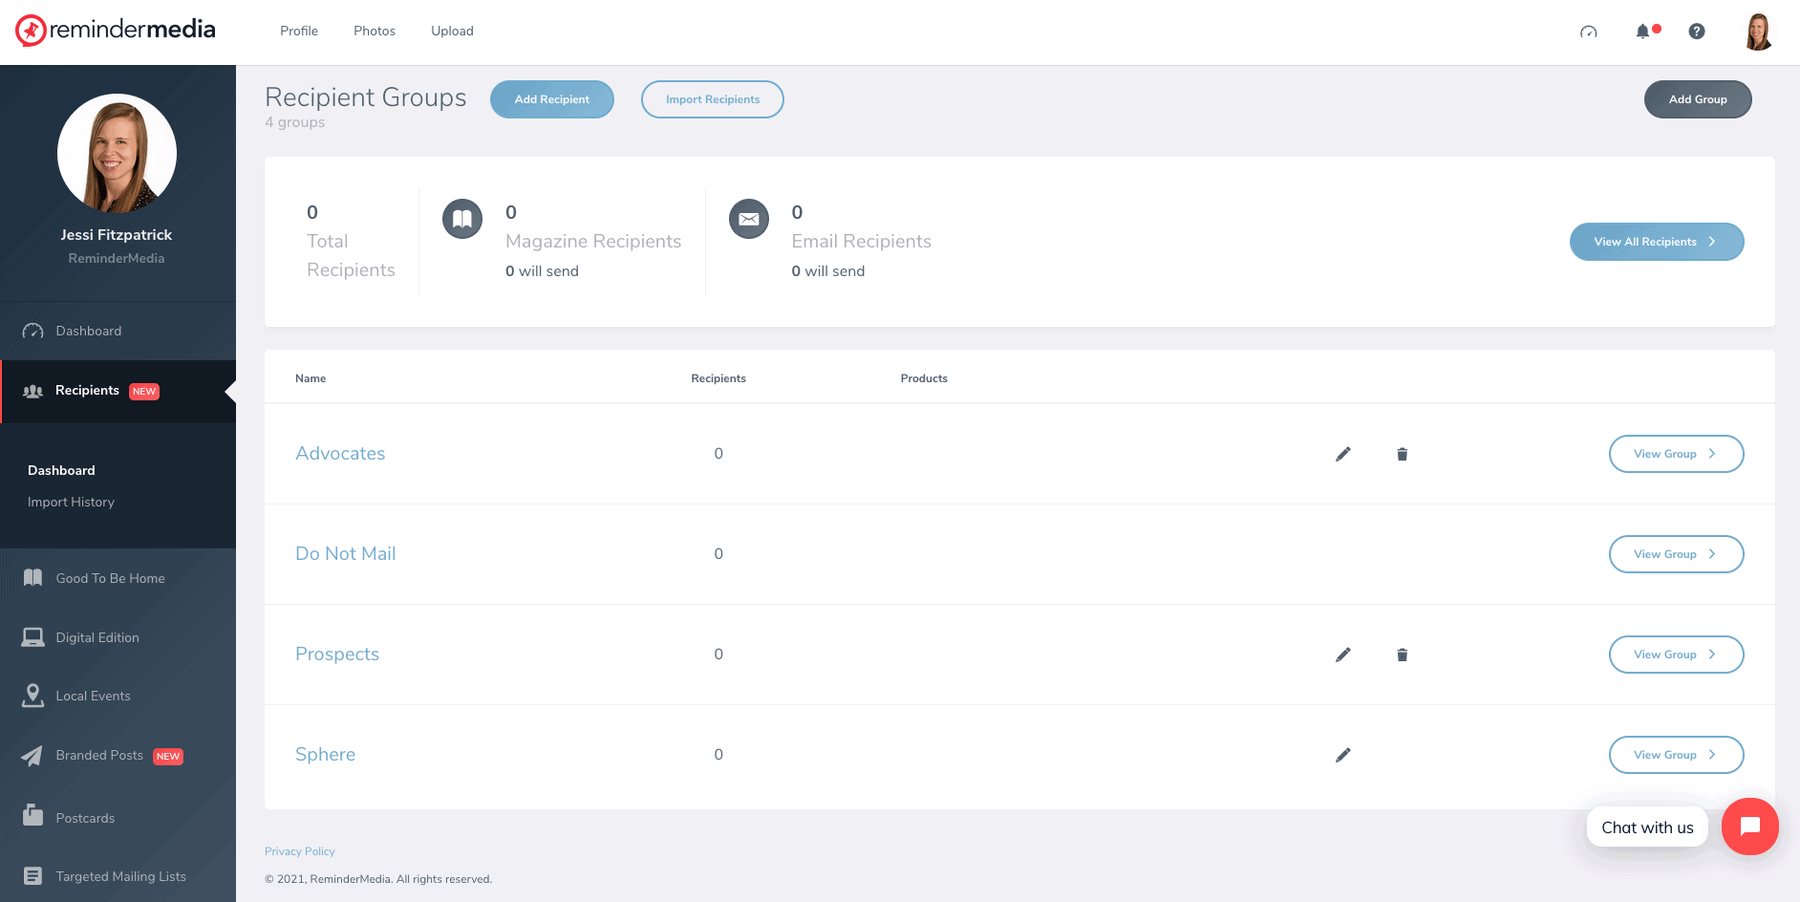
2. To change the name of a group, navigate to your Recipient Dashboard.
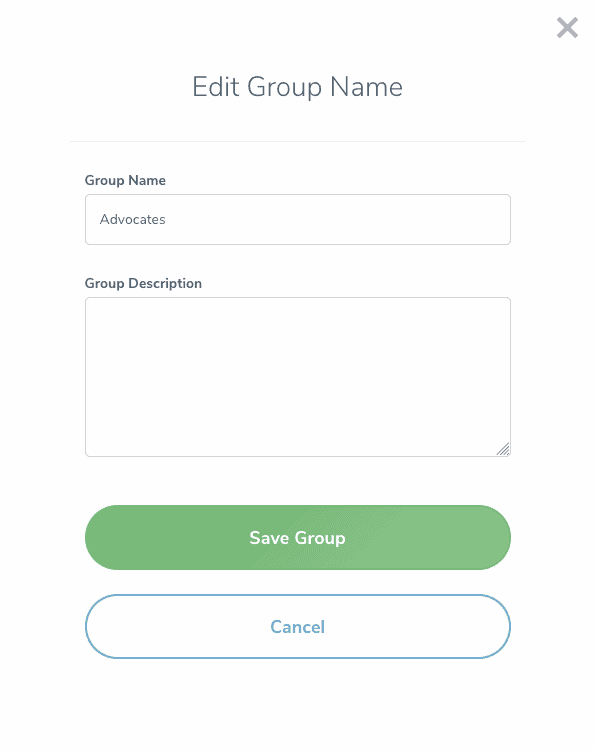
3. Click the pencil icon for that group and update the name. Click Save Group.
4. To add a new group, click Add Group in the upper-right hand corner of Recipient Dashboard.
5. Add the group name and description if you wish, then click Add Group.
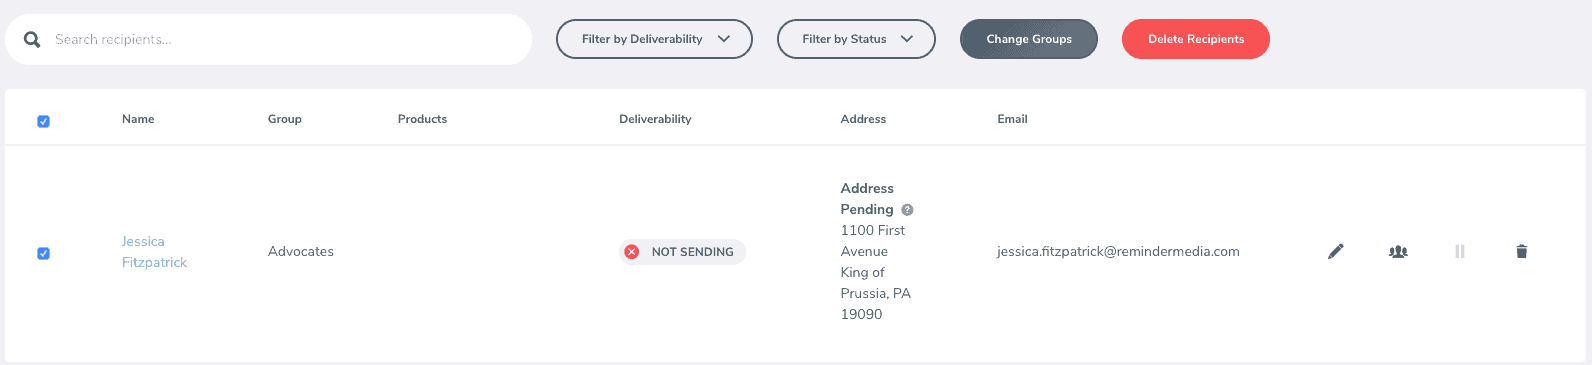
6. To change a recipient’s group, navigate to the recipient using View All Recipients or View Group.
7. On the left-hand side of the recipient’s name click the box.
8. At the top of the page click Change Groups to move the recipient to a different group.
Note, if a recipient is in a group receiving a magazine product and they are moved to a group without the magazine this will remove address exclusivity.
