How to Add, Edit, or Delete Recipients
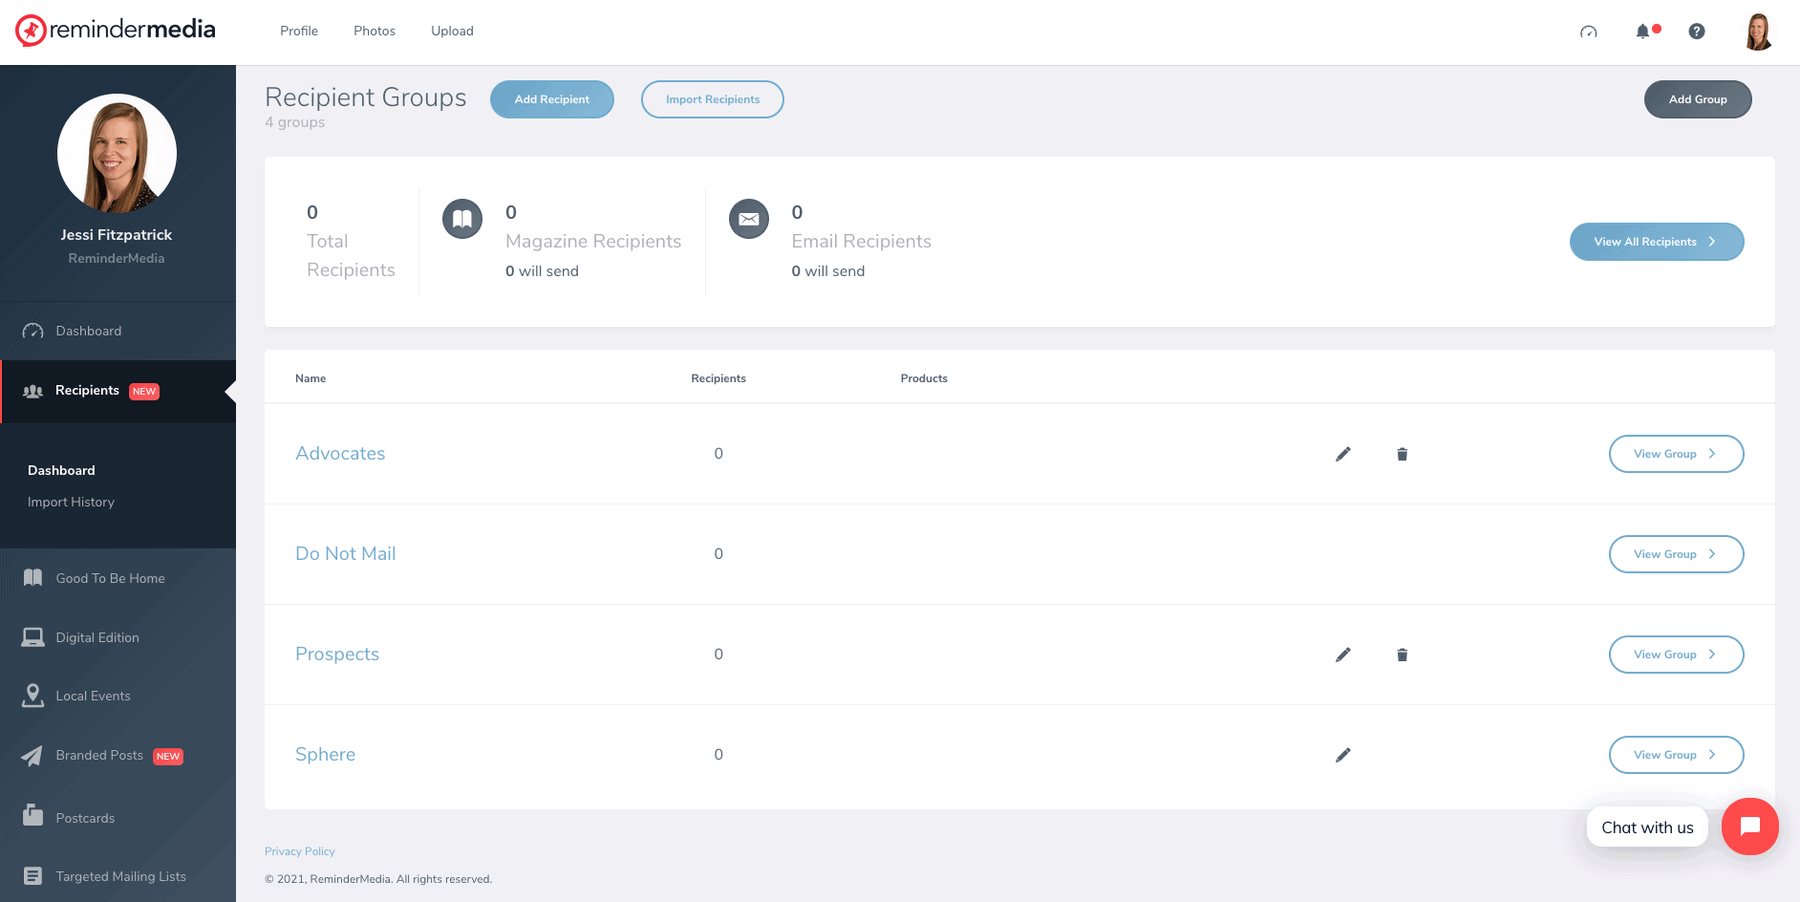
1. Log into your account and select Recipients on the left-hand sidebar.
2. Here you will see an overview of your Recipient Groups as well as how many Recipients will receive the magazine or emails.
How to Add Recipients
1. At the top of your dashboard, click Add Recipient.

2. This will pop open a screen where you can add their name, address, email, and phone number. For additional information click Show all fields at the bottom of the page. This gives you additional information like significant dates, websites, social media, and notes.
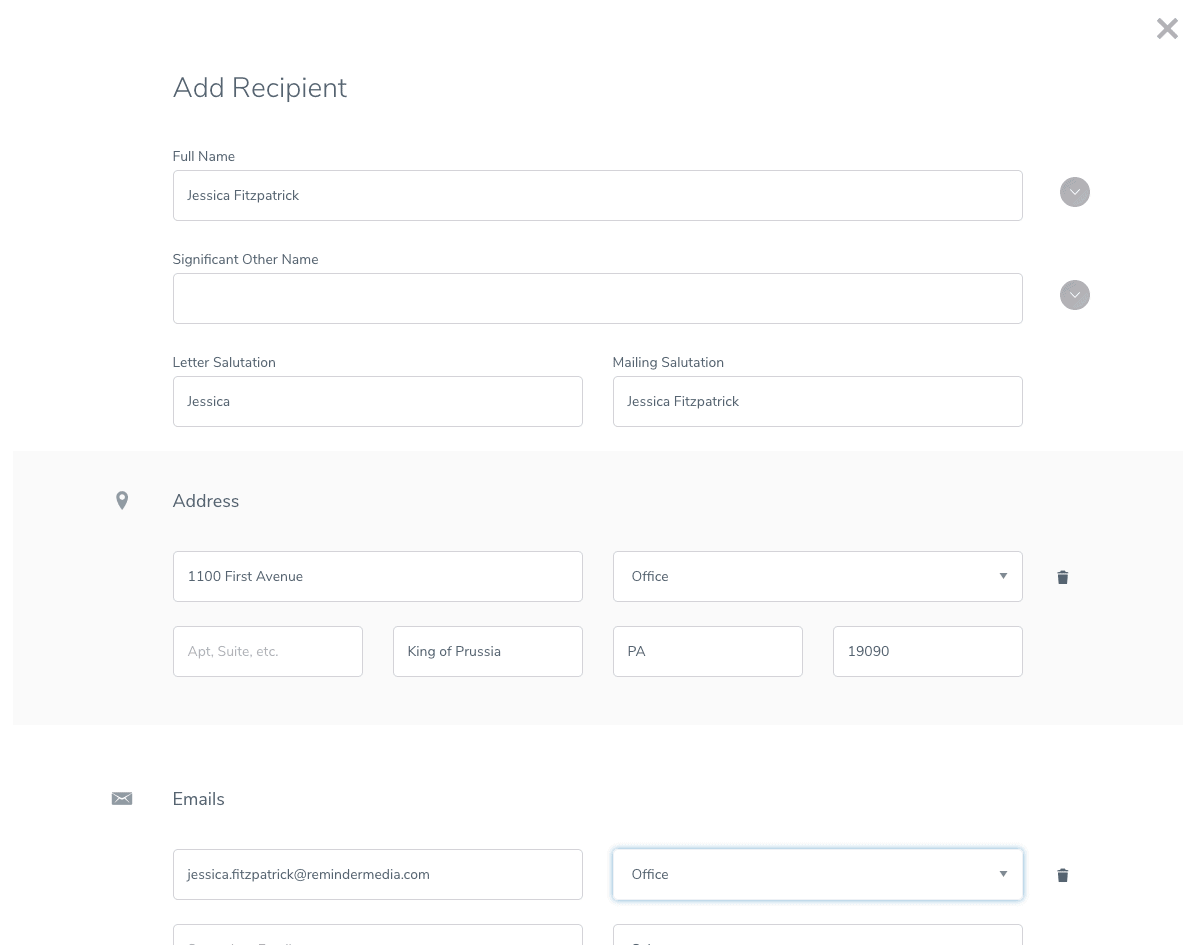
3. Make sure to select the Recipient Group you want the recipient added to.
4. When you are done click Save & Close or, if you want to add more, Save & Add Another.

5. To upload a list of Recipients, see our instructions for How to Upload a List to Recipient Manager.
How to Edit or Delete Recipients
1. To edit an already existing recipient go to your Dashboard and click View All Recipients in the upper-right corner.
2. Scroll or search for the Recipient you want to edit. Next navigate to the 3 dots on the right-hand side. This will open more options. Click the pencil icon. Now you can edit the information for that Recipient.

3. Here you can also change the Recipient Group for that recipient. Note that changing a group associated with a product will change the products that recipient receives.
4. When finished, click Save & Close.
5. To delete a recipient navigate to the same 3 dots on the right-hand side and click the trash can or click the box on the left-hand side of the recipient’s name and at the top select Delete Recipients.
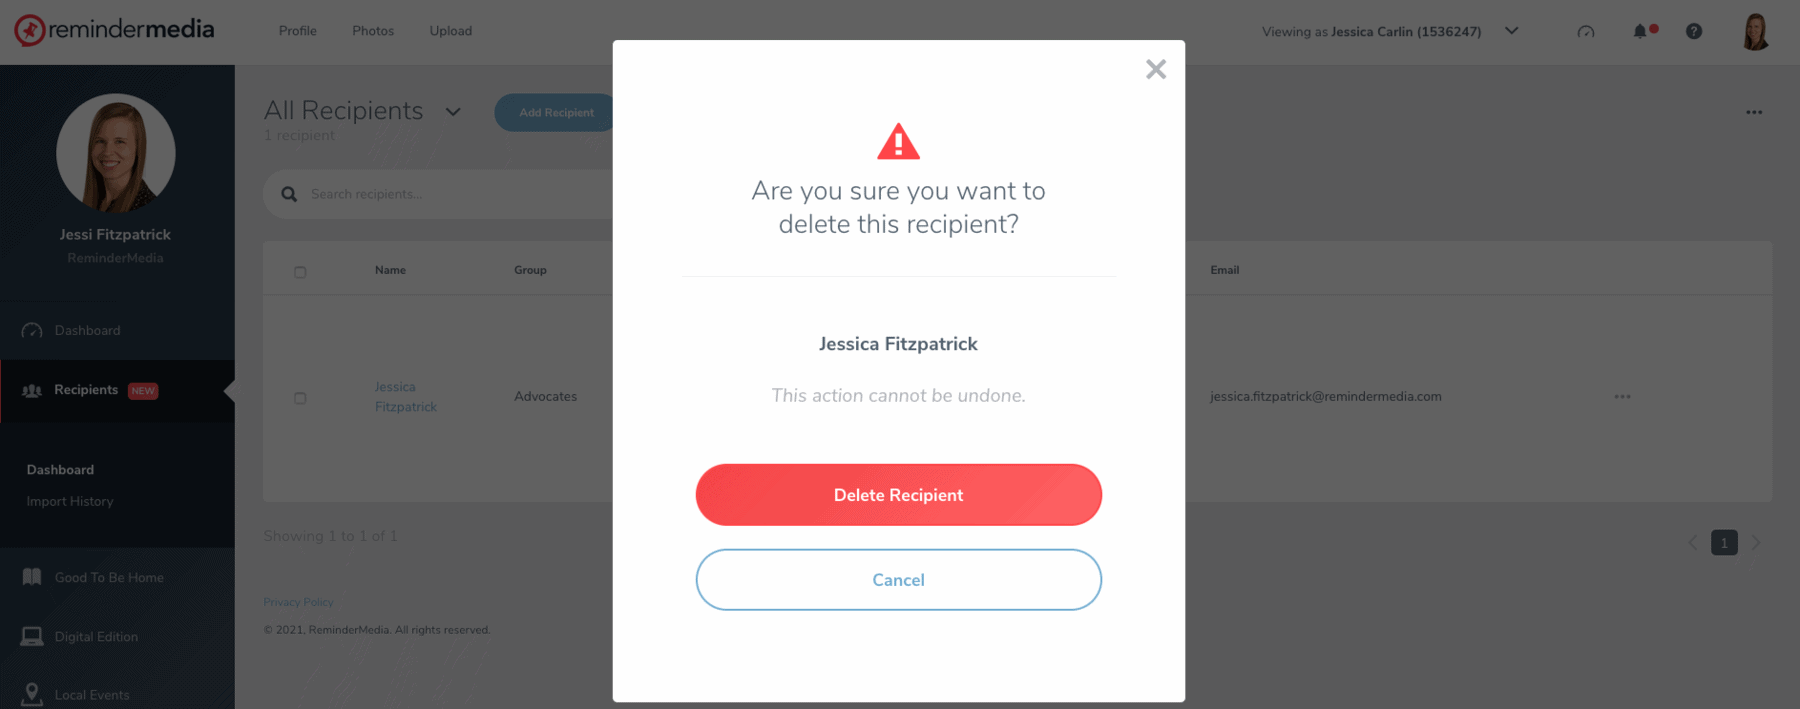
Note, this action cannot be undone and if a recipient is receiving a magazine product deleting them will remove address exclusivity.
